Building a Decorative Ladder
Why did I pick a Ladder?
There are a lot of different trends that are popular right now in home décor. Currently, one that I have seen a lot of are ladders. People use them for blankets or quilts with the ladder just leaned against the wall; some I have even seen hung as a storage solution.
I have noticed the more popular the item, the more “DIY” posts there are on how to make it - and they alway promise “quick and cheap!” Excuse the language - but I call bullshit. Here are two examples (Image Credit: Screen Shots from Pinterest).
Example 1: This uses a time exaggeration to draw you in. 30 minutes is about how much time I used just applying the stain on both sides let alone building the whole thing.
Example 2: This uses low cost exaggeration to get you. $5 … yeah… no. For my basic design the wood alone cost $10+tax, and it’s a dowel rod and one 2x4. How about the stain, screws, wood glue and other supplies you need?

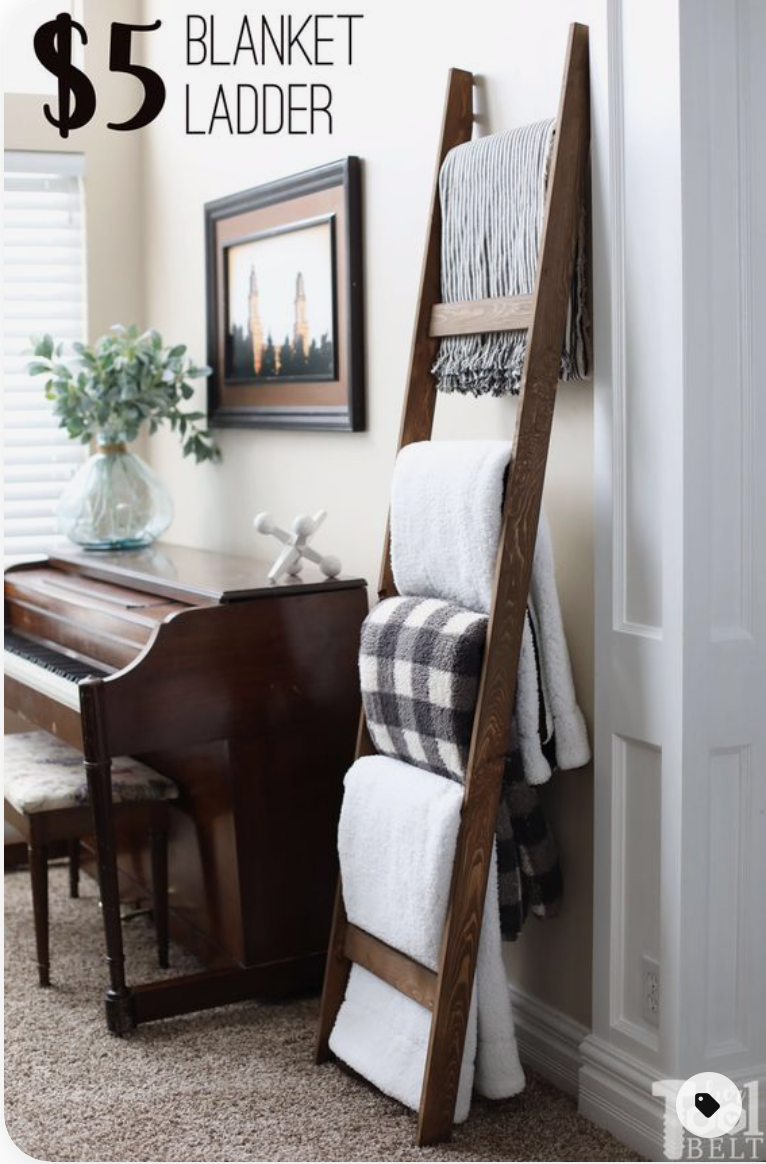
So, this post is no BS – I will show what it really takes for time and cost to make a ladder (Spoiler - it isn’t 30 minutes or $5, but all things considered it’s still a good time and money value!).
Disclaimer:
This is my 1st ladder, and I am still learning and growing overall as a woodworker but doing things the best way I know how to currently.
All prices were accurate at posting - the standard price at Menards on 8/5/21.
Step 1: Decided on my design
First, I had to decide what I wanted my ladder to look like and what materials to use. I decided to go with a 6’ Ladder and to use an eight foot long 2” x 4” that I had laying around. I then it in half length wise, making it a bit larger than a 2”x2” board would have been (Note: a 2” x 4” is actually 1.5” x 3.5” and a 2x2 would be 1.5”x1.5”). For my rungs, I went with a 1” round dowel rod so that it would leave a bit of a gap on each edge when I went to assemble.
I am a big Walt Disney fan - so the theory of “Plussing It” I take to heart and look to see if there is anything that I can add. The term plussing it means finding a way of making a good idea even better by adding something more. I like an industrial look, so I decided to use black pipe to make it a hanging ladder so it can be used for blankets or hanging bins/baskets. In the instructions and cost breakdown, I will separate the standard ladder vs the extra I added.
Summary:
Time: I am not sure how much time I actually spent “thinking” but put down about 15 minutes for doing the math and drawing out my idea.
Cost: I am going to say $0 so at most a couple pieces of paper which is minimal. Heck - some of my best ideas happen at a bar on a napkin!
Step 2: Making all my cuts
I headed to my shop to start making all my cuts that I needed.

Compound Miter Saw
Legs: I shortened my 8’ 2x4 down to 6’
Ladder Rungs: I have a 72” long dowel that I split into 5 pieces. I would lose 0.25” for my blade Kerf so 71.75 divided by 5 equals 14.35”. Blade kerf is the width of the blade.

Planer
This is optional - I ran my 2x4 through the planer on all four sides to smooth it out and remove some of the paint splatter from my spare board I was using.
Table Saw: I ran my 2x4 through the table saw to split it in half - don’t forget the saw blades Kerf - for my table saw it is 1/16”.
Alternative: If you don’t have a table saw - you can get two 2”x2” boards.
Why did I cut down a 2x4? Money. The cost for two 2”x2” x 8’ furring strips is $6.96 total vs $4.32 for a 2x4
Summary:
Time: About 25 minutes for the ladder - Miter Saw, Table Saw and Planer.
Cost: My 2x4 would have cost me $4.32 ($3.24 was used, since I have 2’ left) and the 72” dowel rod was $5.98.
Total purchased of $10.30 and I used $9.22
Tools Used: Miter Saw, Table Saw, Planer and a Tape Measure
Step 3: Time to Assemble Everything
I measured every 12” on my boards and drew a pencil line on what will be the inside and outside of each piece.
On the outside I used a countersink bit to pre-drill my screws. I just have a Milwaukee M12 drill that I use - it is small and lightweight and more than enough power for pretty much everything I do. My dad has larger drills/impacts in the shop I can borrow if I need them.

On the inside portion of the legs, I used a drill press and a 1” Forstner bit to make inserts to help with assembly and add strength.
I am fortunate that I live on a farm and in the machine shed my dad has a drill press. I find I can get much straighter and cleaner cuts vs using a drill with a spade bit (My luck with spade bits and a drill deserves a home on the “Wall of Oops”).
Once cut - I added wood glue to each of the holes, then inserted the dowels. I used a rubber mallet to insert them and then added the other side and did the same. I then added my trim screw to each of the holes. I now have a ladder!


Summary:
Time: to measure, make my marks, pre-drill the countersink holes then head out to get the inserts with the drill press - that all took about 25 minutes. Adding glue, assembly and adding screws took maybe 10 minutes. So about 35 minutes or so for assembly.
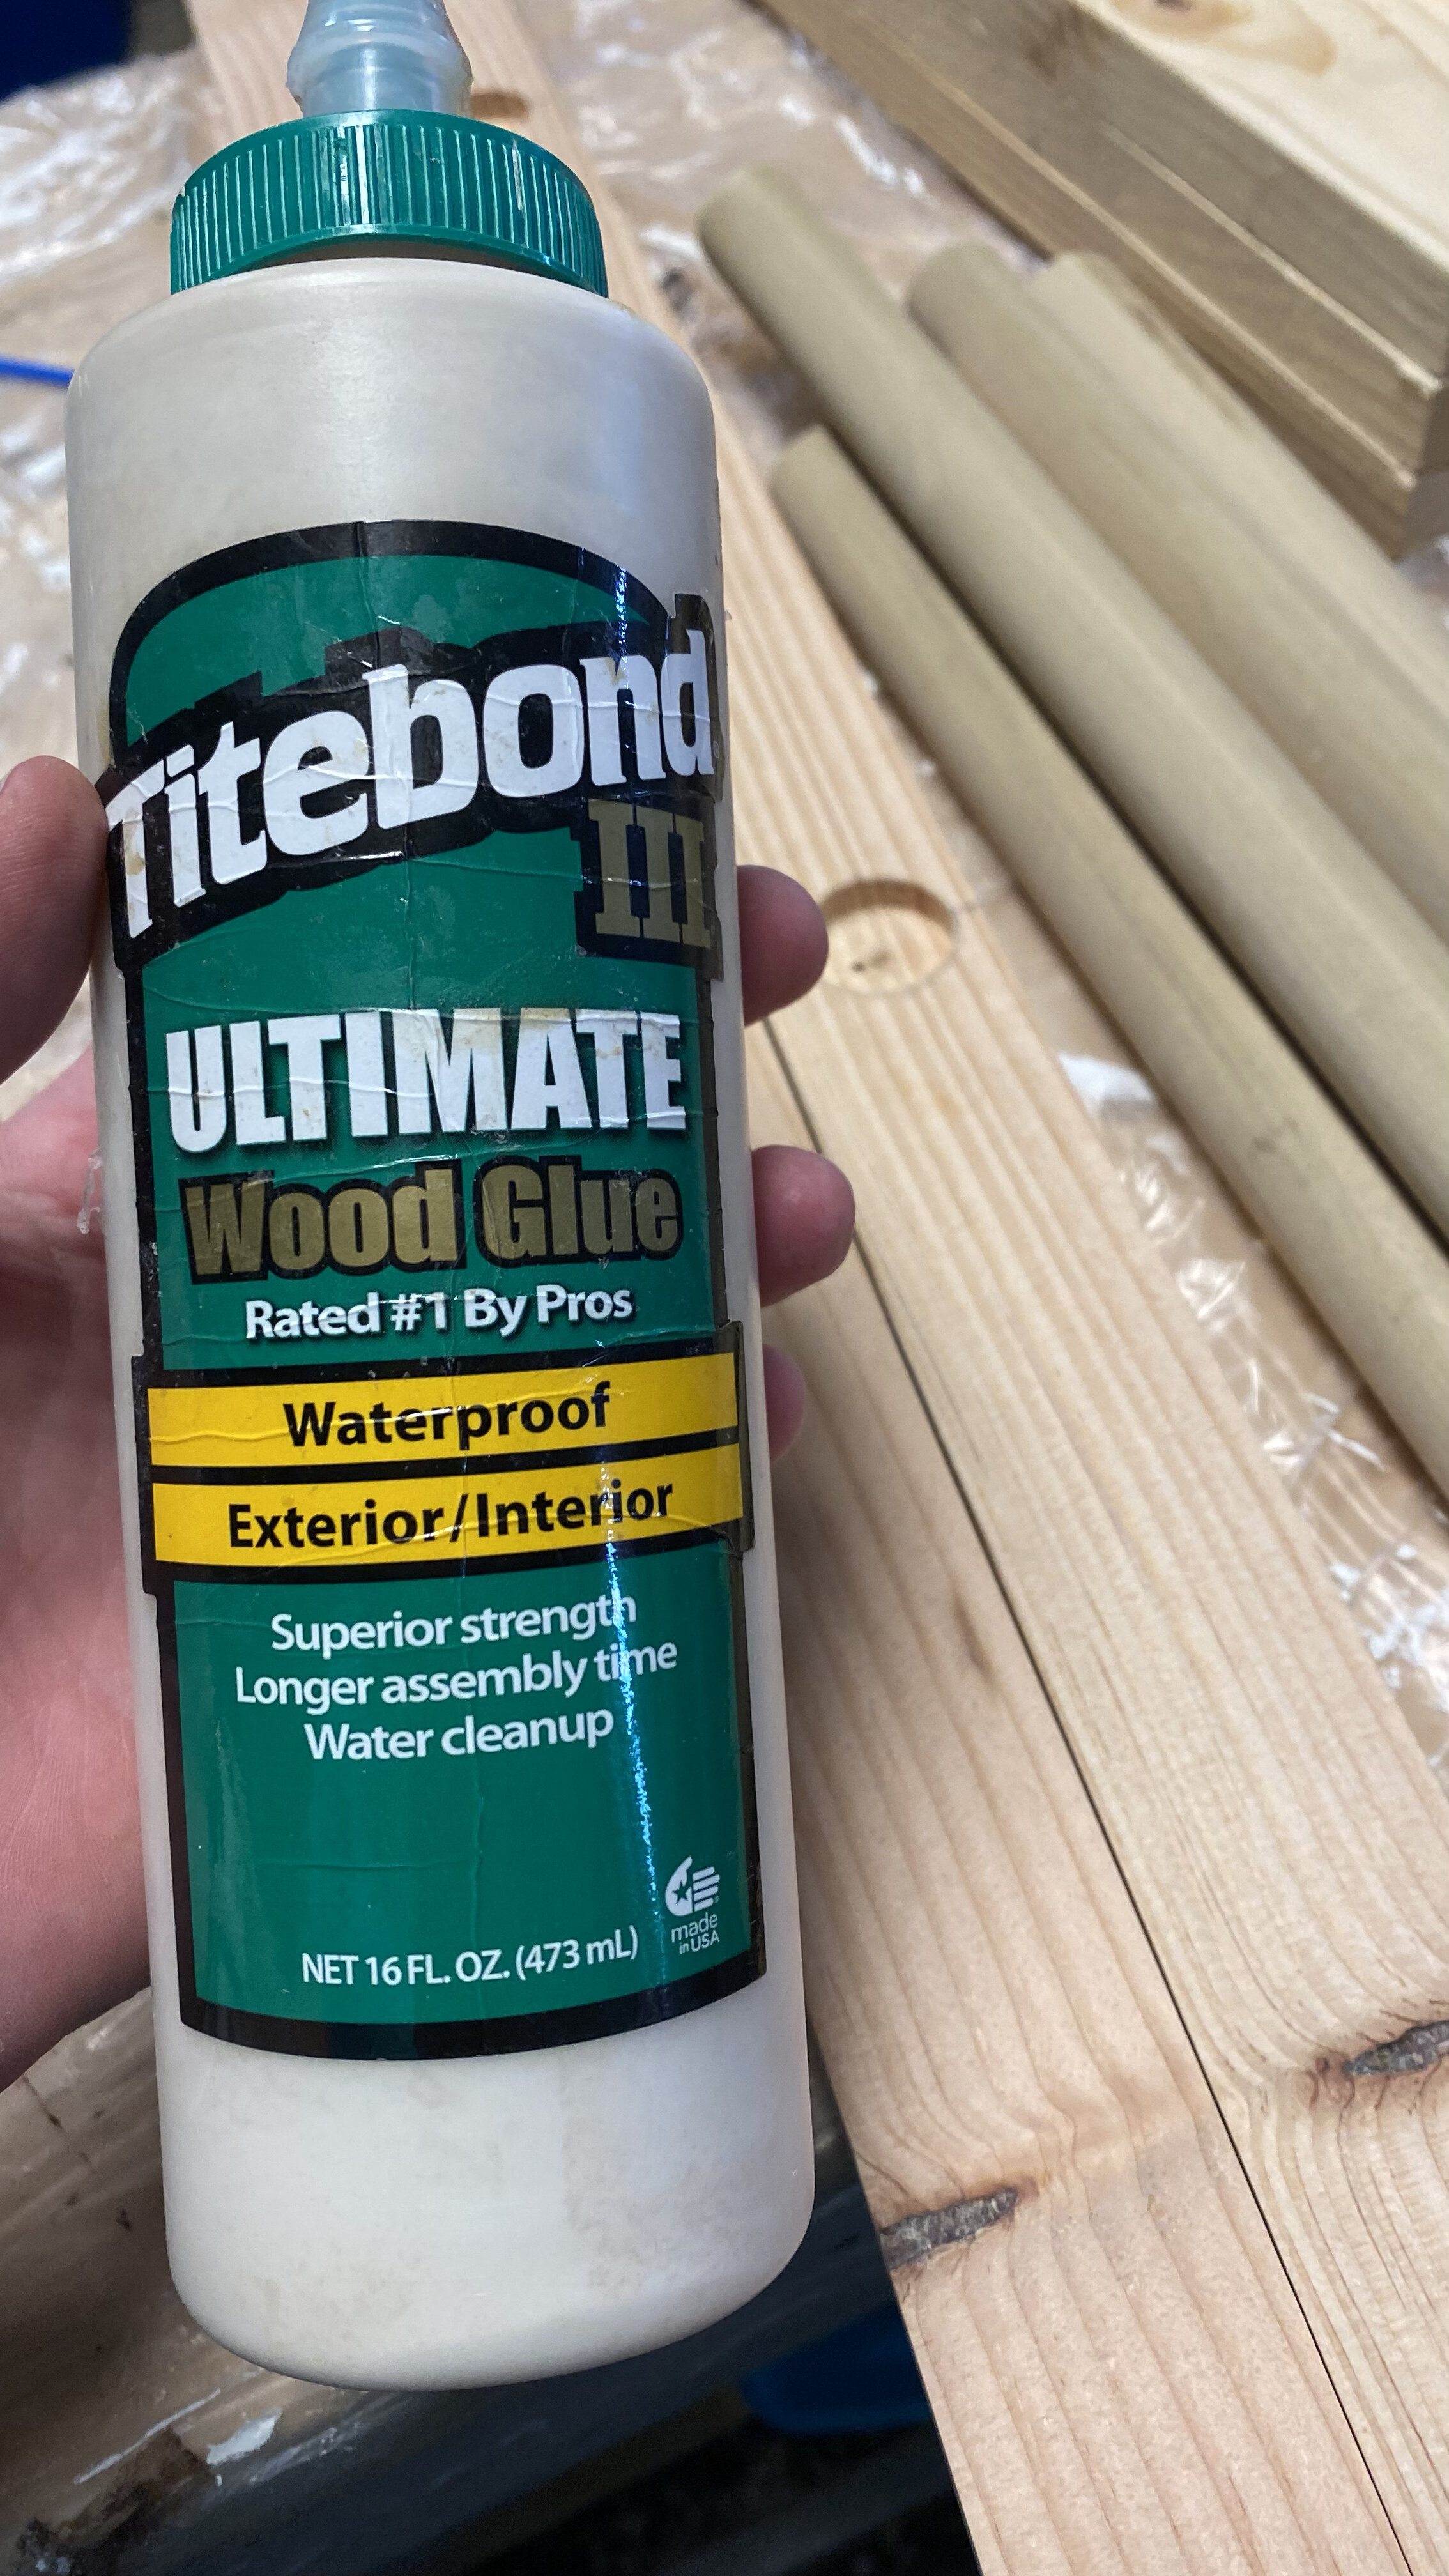
Cost: A small bottle of Titebond III wood glue is about $3.99 and then a box of 100 2” screws was $8.32. Total purchase of $12.31 and I used about $1. I keep both on hand for projects.
Tools Used: Drill; Drill Press; Rubber Mallet; Countersink Drill Bit; 1” Forstner Bit
Step 4: Sanding
If you don’t like sanding…woodworking isn't for you. I actually sand off and on throughout the whole process - but put it here since it is critical before you stain. I have so many random sanding tools. For this portion - I used an orbital sander to smooth out my boards and rungs.
Summary:
Time: Since I planed my boards first - I am estimating about 15 minutes or so.
Cost: I had sanding discs - which are about $0.5 each. If you had to buy sanding blocks figure about $4.45 or maybe more depending on what you get.
Tools Used: Orbital Sander
Step 5: Stain & Polycrylic
I historically have used traditional oil-based stains - so another 1st in addition to my 1st ladder is trying an oil-based gel stain. Traditional stains penetrate the wood whereas gel stain sits on top of the wood. Knowing that my rungs were poplar and legs were pine, I decided to try the gel to see if it helped with consistency.
My take: Gel is thicker and I would say less messy and easier to apply. I also got a lot more coverage with less stain than traditional stain. Because gel stain is thicker around the rungs it was harder to remove the excess and a bit darker. A big con is dry time - which is forever! I have ADHD and I am not that patient. The dry time for recoat on traditional stain is about 1 hour vs 8 hours for gel stain. I also don't have that much space to let big stuff dry for that long.
My Process:
Pre-Stain: I applied it and let sit for maybe 15 minutes. I applied then worked on other things. When using porous woods, this helps get a more even coat and since my 2x4 is pine, which is a pain to stain I highly recommend pre-stain.
Gel Stain: 1st I used a large popsicle stick to stir my stain - These are cheap and work great! Gel Stain had like a pudding consistency that took a bit to mix up. Normal stains - I have noticed a lot of the pigment does settle on the bottom and also needs to be stirred well. I used foam brushes to apply the gel stain - it is easy to apply with them and I don’t get brush marks. Make sure to go with the wood grain. About 4ish minutes later, I then removed the stain with disposable rags - I get a box of 200 at Menards I keep on hand and they are lint free and work great. I did apply stain one section at a time - so I didn’t have too much on at once. After it dried (Which was forever and a day…) I flipped it all over and repeated.
Polycrylic: Unlike James Bond likes his Martinis - we want our poly stirred, not shaken so there are no air bubbles. I added the poly to one side, let dry, lightly sanded and did a 2nd coat. Flip and repeat. Warning: Watch for poly runs, this can easily happen as it settles if you use too much.


Summary:
Time: Not counting dry time - about 35 minutes for stain and 20 for Poly.
Cost: If you had to purchase everything - it comes to about $51.74 but the amount actually used was $7.55. I do tend to buy in the quart and not ½ pint size since I use quite a bit of these products and it is more economical.
White Disposable Rags – 200 - $9.99 (Used about 10 $0.50)
Foam Brush – 2” - $0.57 each. 5 used total - $2.85
Disposable Gloves – 100 Gloves - $14.97 (Used 4 Gloves $0.60)
Pre-Stain – ½ Pt - $5.96 (15% - $0.90)
Gel Stain – ½ Pt - $7.98 (15% = $1.20)
Polycrylic – ½ Pt - $9.99 (15% = $1.50)
Tools: For light sanding - I like the Gator Finishing products. They come in a variety of sizes - below is a link to Amazon for the two that I currently own. I used the larger mouse one for this project. I use the smaller micro zip one all the time!
I won’t post too many affiliate links (this cost you nothing) unless it is something I really like. I also won’t post for anything I didn’t pay for myself.


Optional - Plussing It:
I decided to make my ladder one that hangs from the wall to increase what all it could be used for.
Cutting Wood Base: I calculated the length needed to center the pipes. The total length 22.5” from edge to edge of the flange so I made my board 26” total to give about 1.75 on each end.
Assembling Black Pipe: All the pipes were cut to length - so I just needed to screw them together and clean them with some standard degreaser I had in my cleaning supplies. Pipes Used: 2x Floor Flange; 2x 6” Nipple; 2x Elbow and 1x 18” Cut Pipe.
Painting Black Pipe: I used silver spray paint and a couple light coats. You are better to do several light coats vs a heavier coat to help reduce paint runs.
Stain/Poly Board: While finishing the ladder, I stained this board at the same time and the same color.
Assembly: Adding Hangers
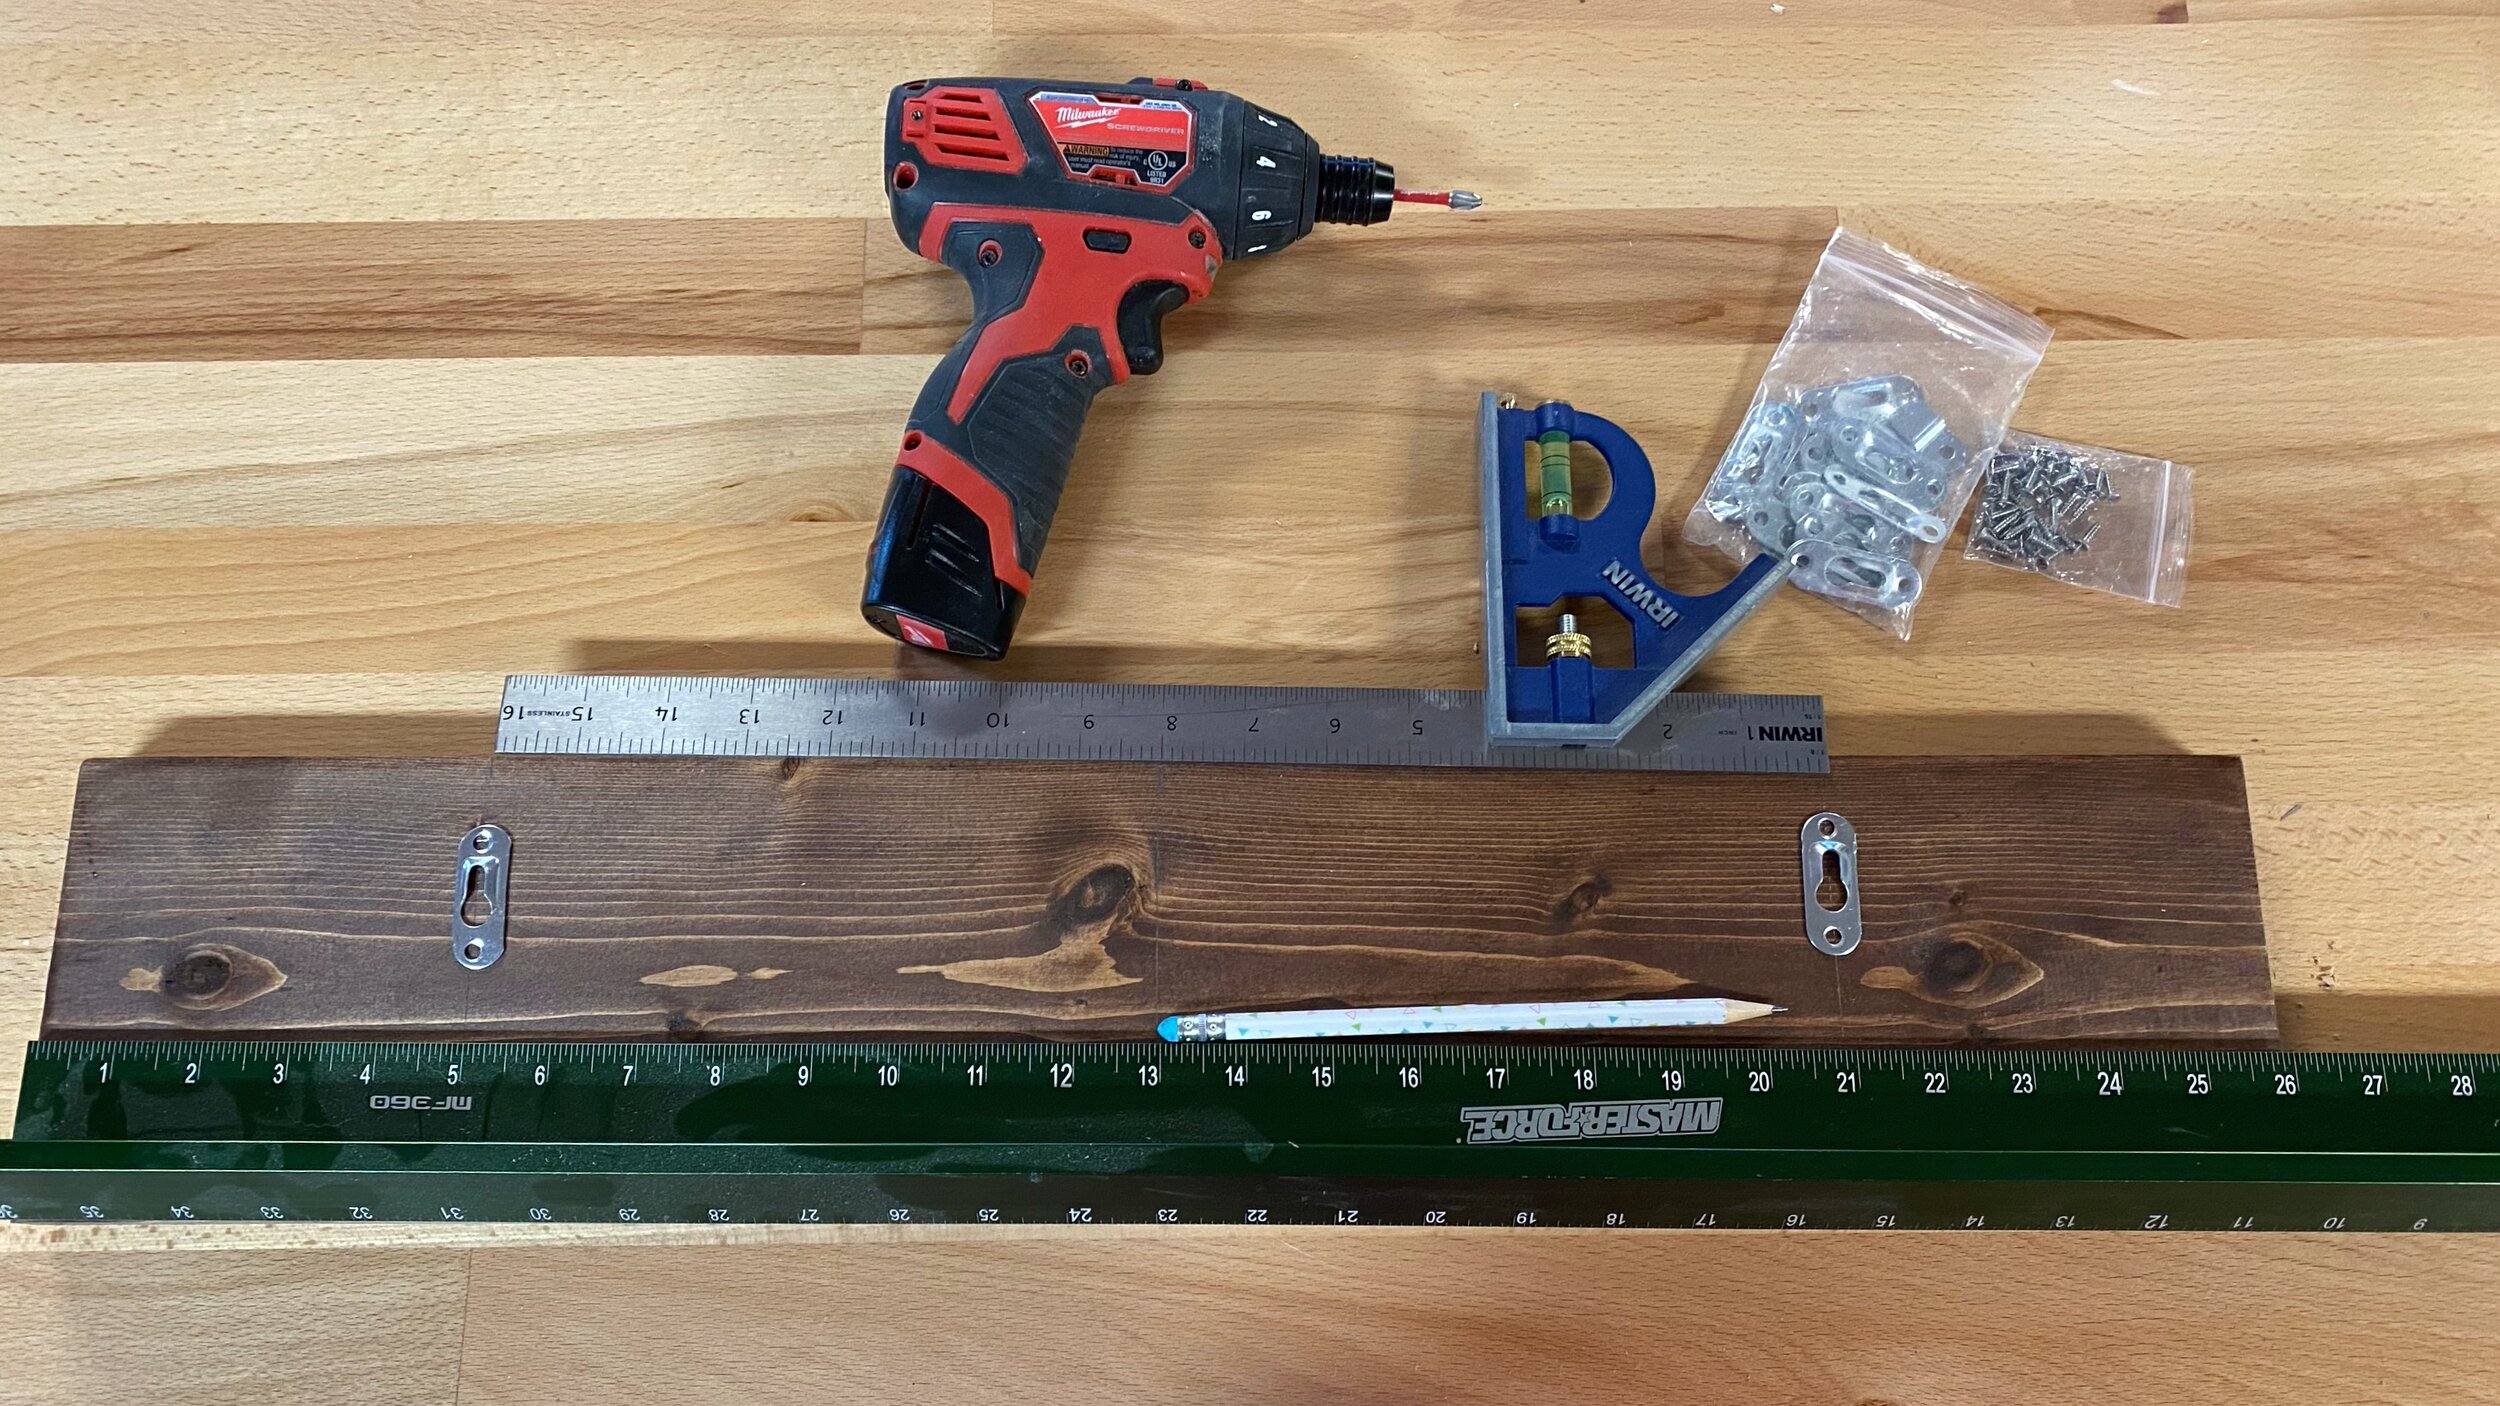
1st I flipped the board and added hangers to the back so you can mount the board on the wall.
I decided to make them centered and 16” apart so that someone and screw directly into studs if so desired.

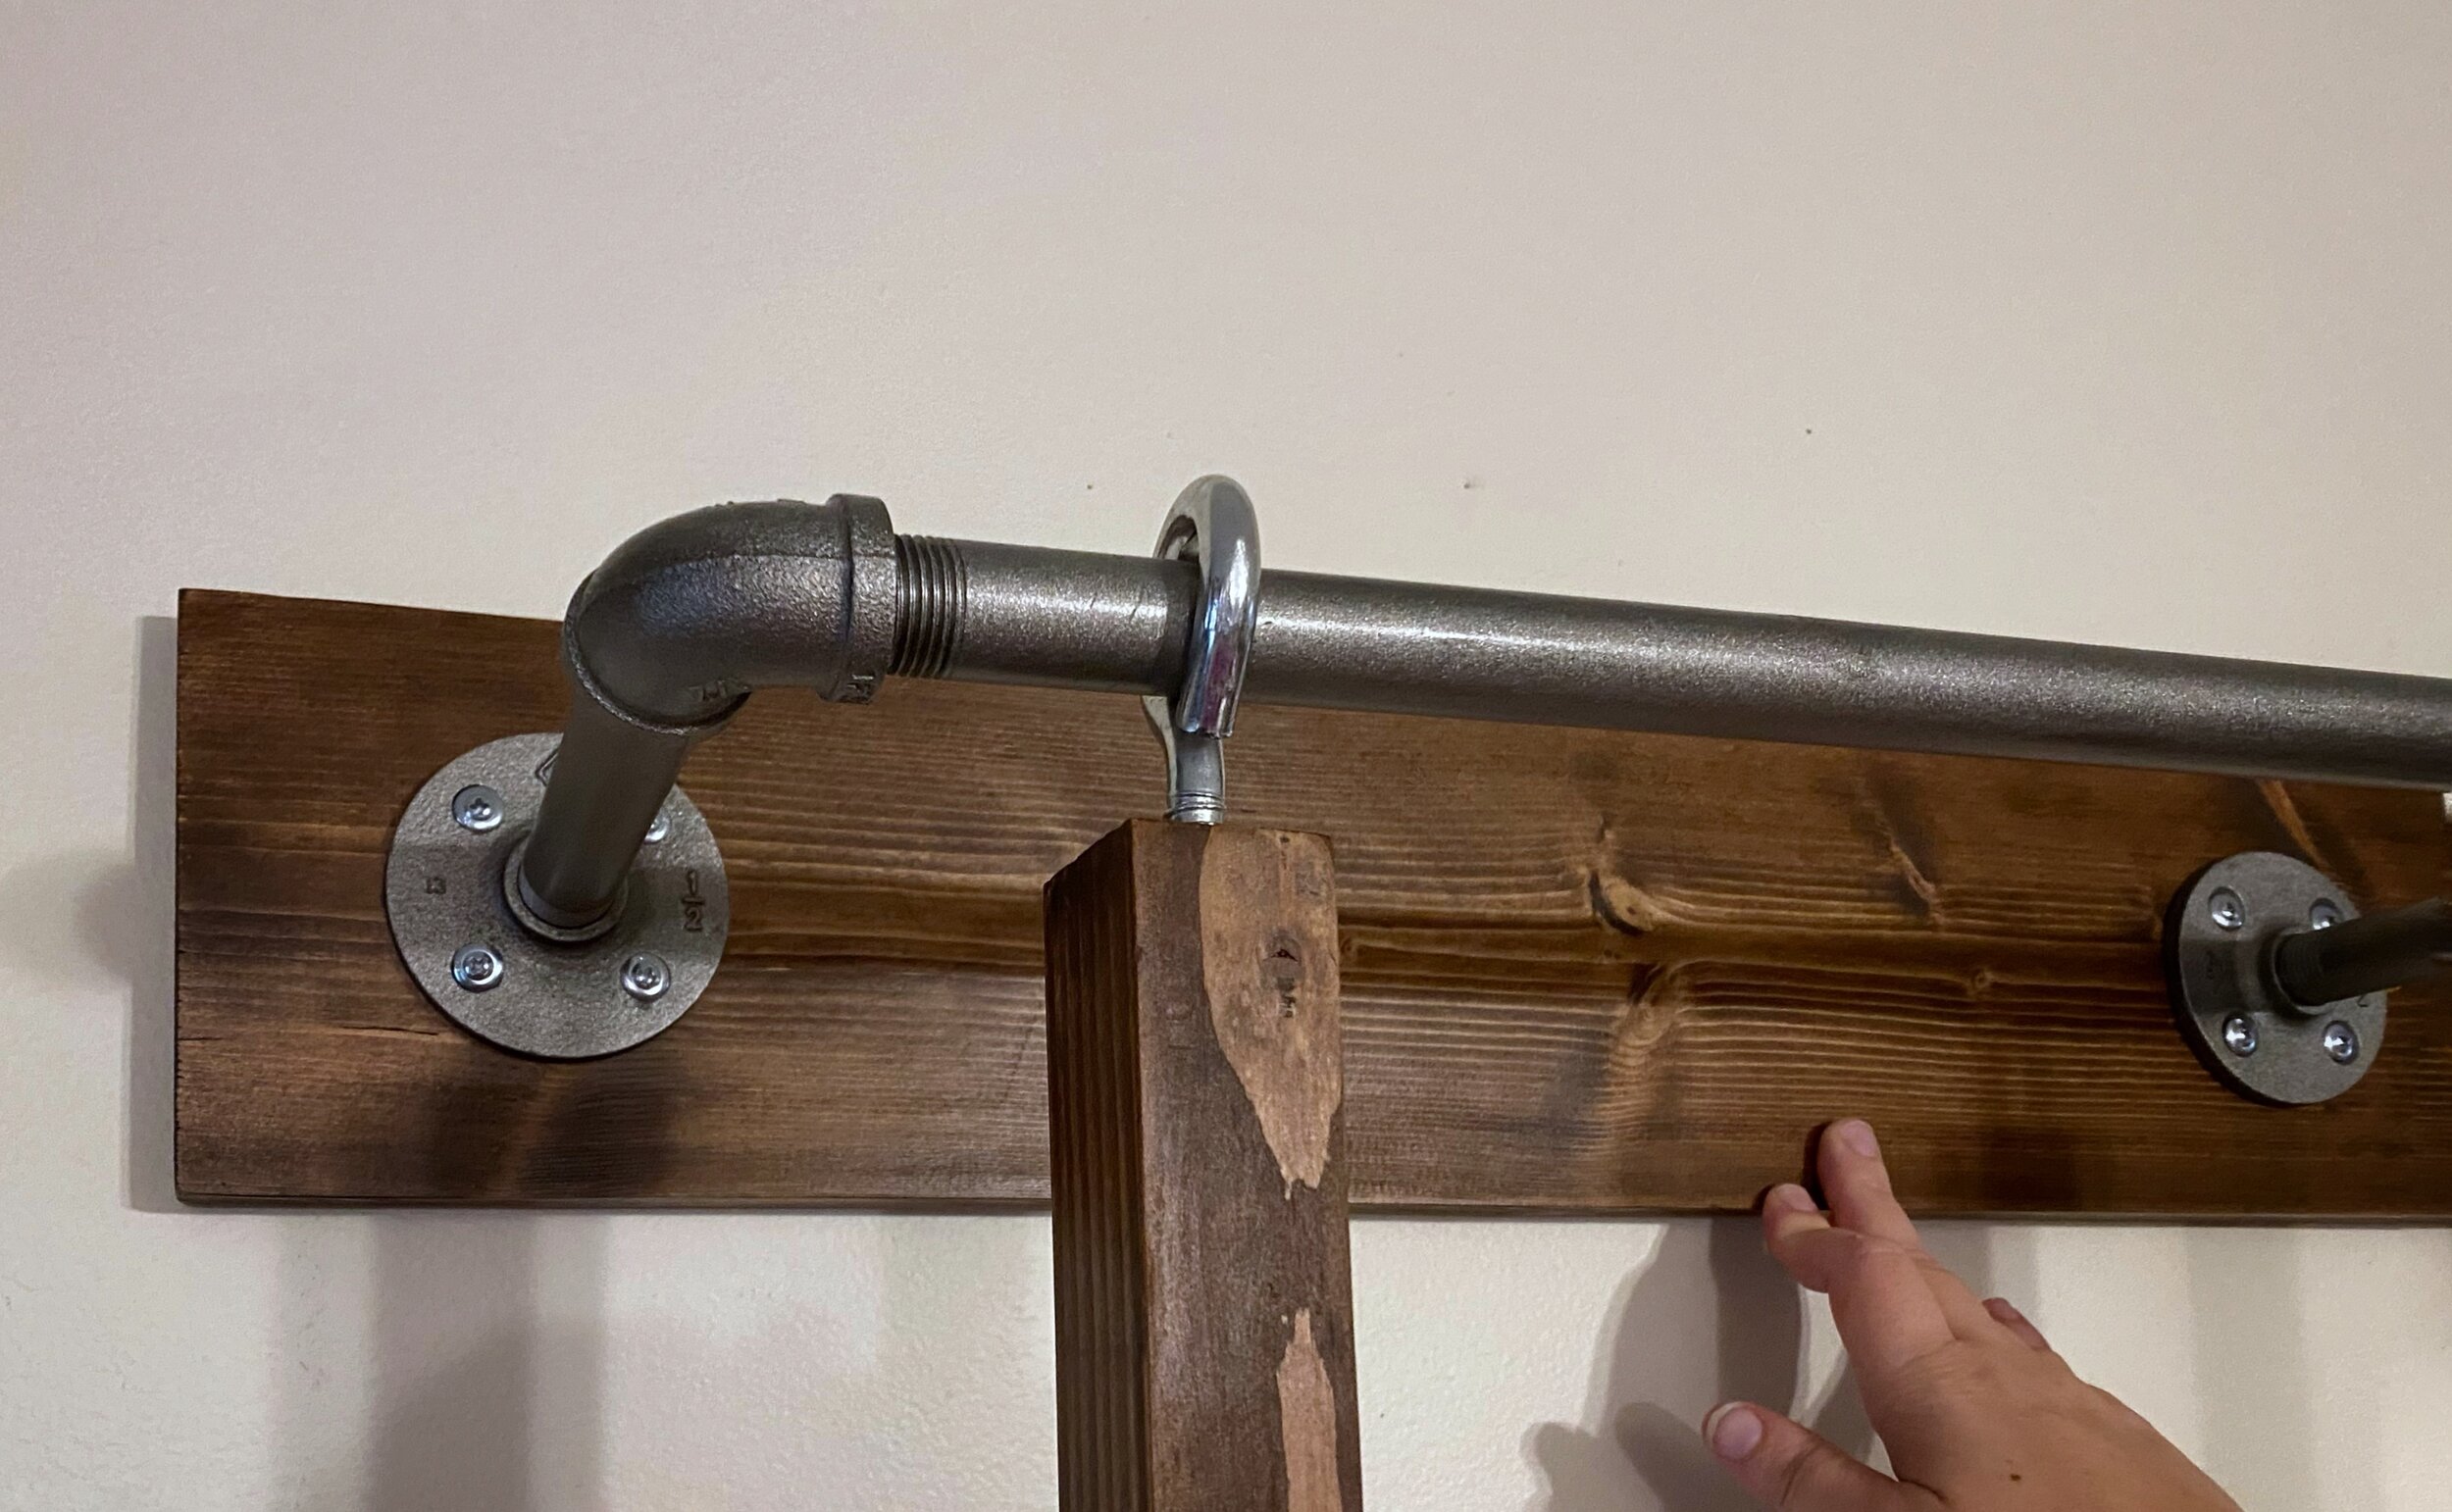
Assembly: Adding the Pipes to the base
I added the eye bolts to the ladder, threaded onto the pipe and re-assembled it, then screwed the flanges onto the base board.
I of course measured to make sure that the pipe assembly it was centered.
Summary:
Cost: $38.06 (About $25.85 Used)
Eye Screws: $0.99 x 2
Wood Base to mount pipes – 1x6” that is 26” Long – a 3’ board is $3.19 at Menard’s ($2.30)
Black Pipe: I used 2 Flanges ($3.99 each); 2 Elbows ($0.89 each); 2 6” Nipples ($1.38); 18” Pipe ($5.19) - $17.71
Spray Paint – $7.48 (Maybe 25% - $1.87)
Staining - 5% Usage from above - $1.20
Hangers: ~ $0.50
Screws: 3/4” Screws $7.20 for 200 (For 8 it is $0.29)
Time: It took me about an hour to do the extra piece.
Tools: Only thing extra was a standard drill bit to pre-drill a hole for my eye hooks.
Overall Summary:

My Completed Ladder - What did it actually take?
Est. Overall Cost if you have to buy all the supplies (With Tax)
Ladder: $80
Plussing It: $41 ($121 total)
Est. Cost for amount of supplies used (With Tax)
Ladder: About $20
Plussing It: $28 ($48 Total)
Estimated Labor Time (Not counting dry time, shopping or other miscellaneous tasks):
Ladder: About 130 minutes or a bit over 2 hours.
Plussing It: About 1 hour (3 Hours Total)
Follow us on Social Media: