Quick Tip: Painting for Laser Cut Wood
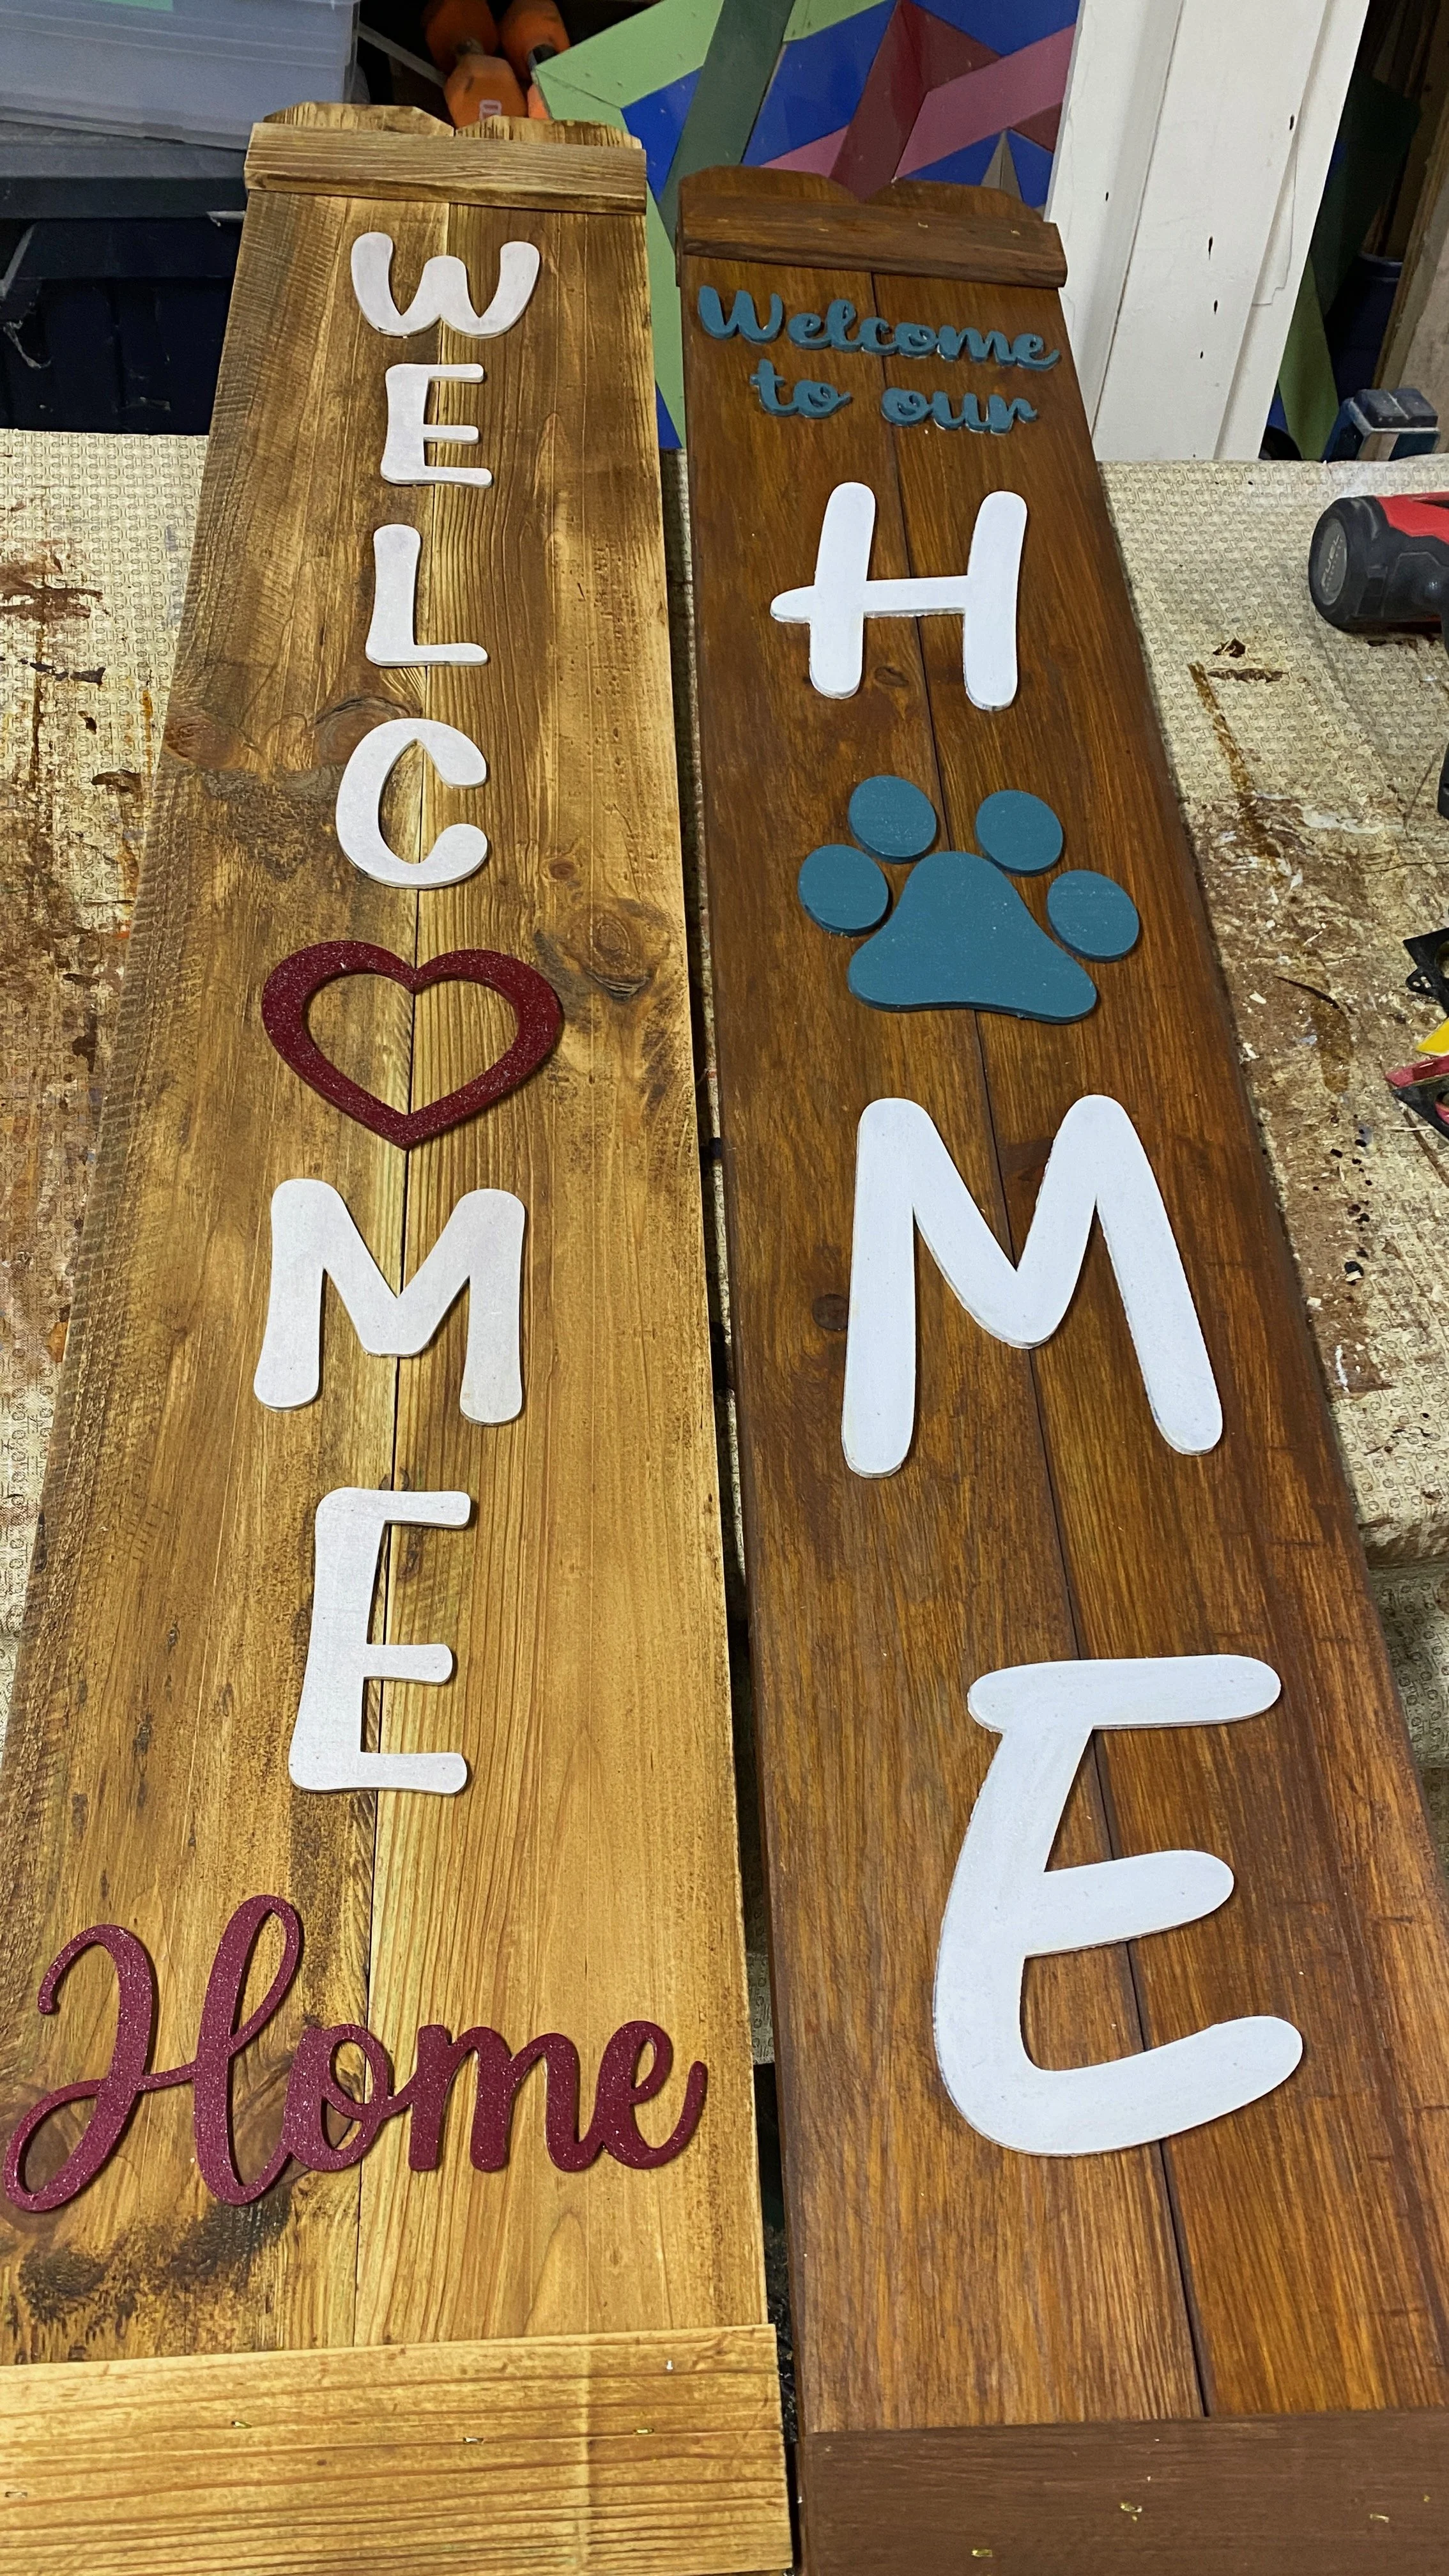
I make a lot of wood decor for craft shows which includes painted pieces. One of my popular products are my porch boards, which have a lot of wooden letters and shapes. With my porch boards, there is the added element that they need to be outdoor friendly. Trying to figuring out a process to create a quality product that doesn't take me forever... well it has been an evolving process.
Here is how I have improved my painting materials and process to save both time and improve my quality. It really does make an Industrial Engineer really happy when it is a win-win!
Early Processes
Spray Paint: One thing I tried was spray painting all of my letters. I could use Rustoleum which is outdoor friendly and was pretty efficient … when the paint cooperated. I then added a clear coat with a pearl glitter paint to make them shine in the outdoor light.
The Pro - It is quick, durable, and can provide a very clean finish
The Con - The price of spray paint, have to content with fumes/overspray, temperamental nature, space to dry and paint, and touch-ups are harder.
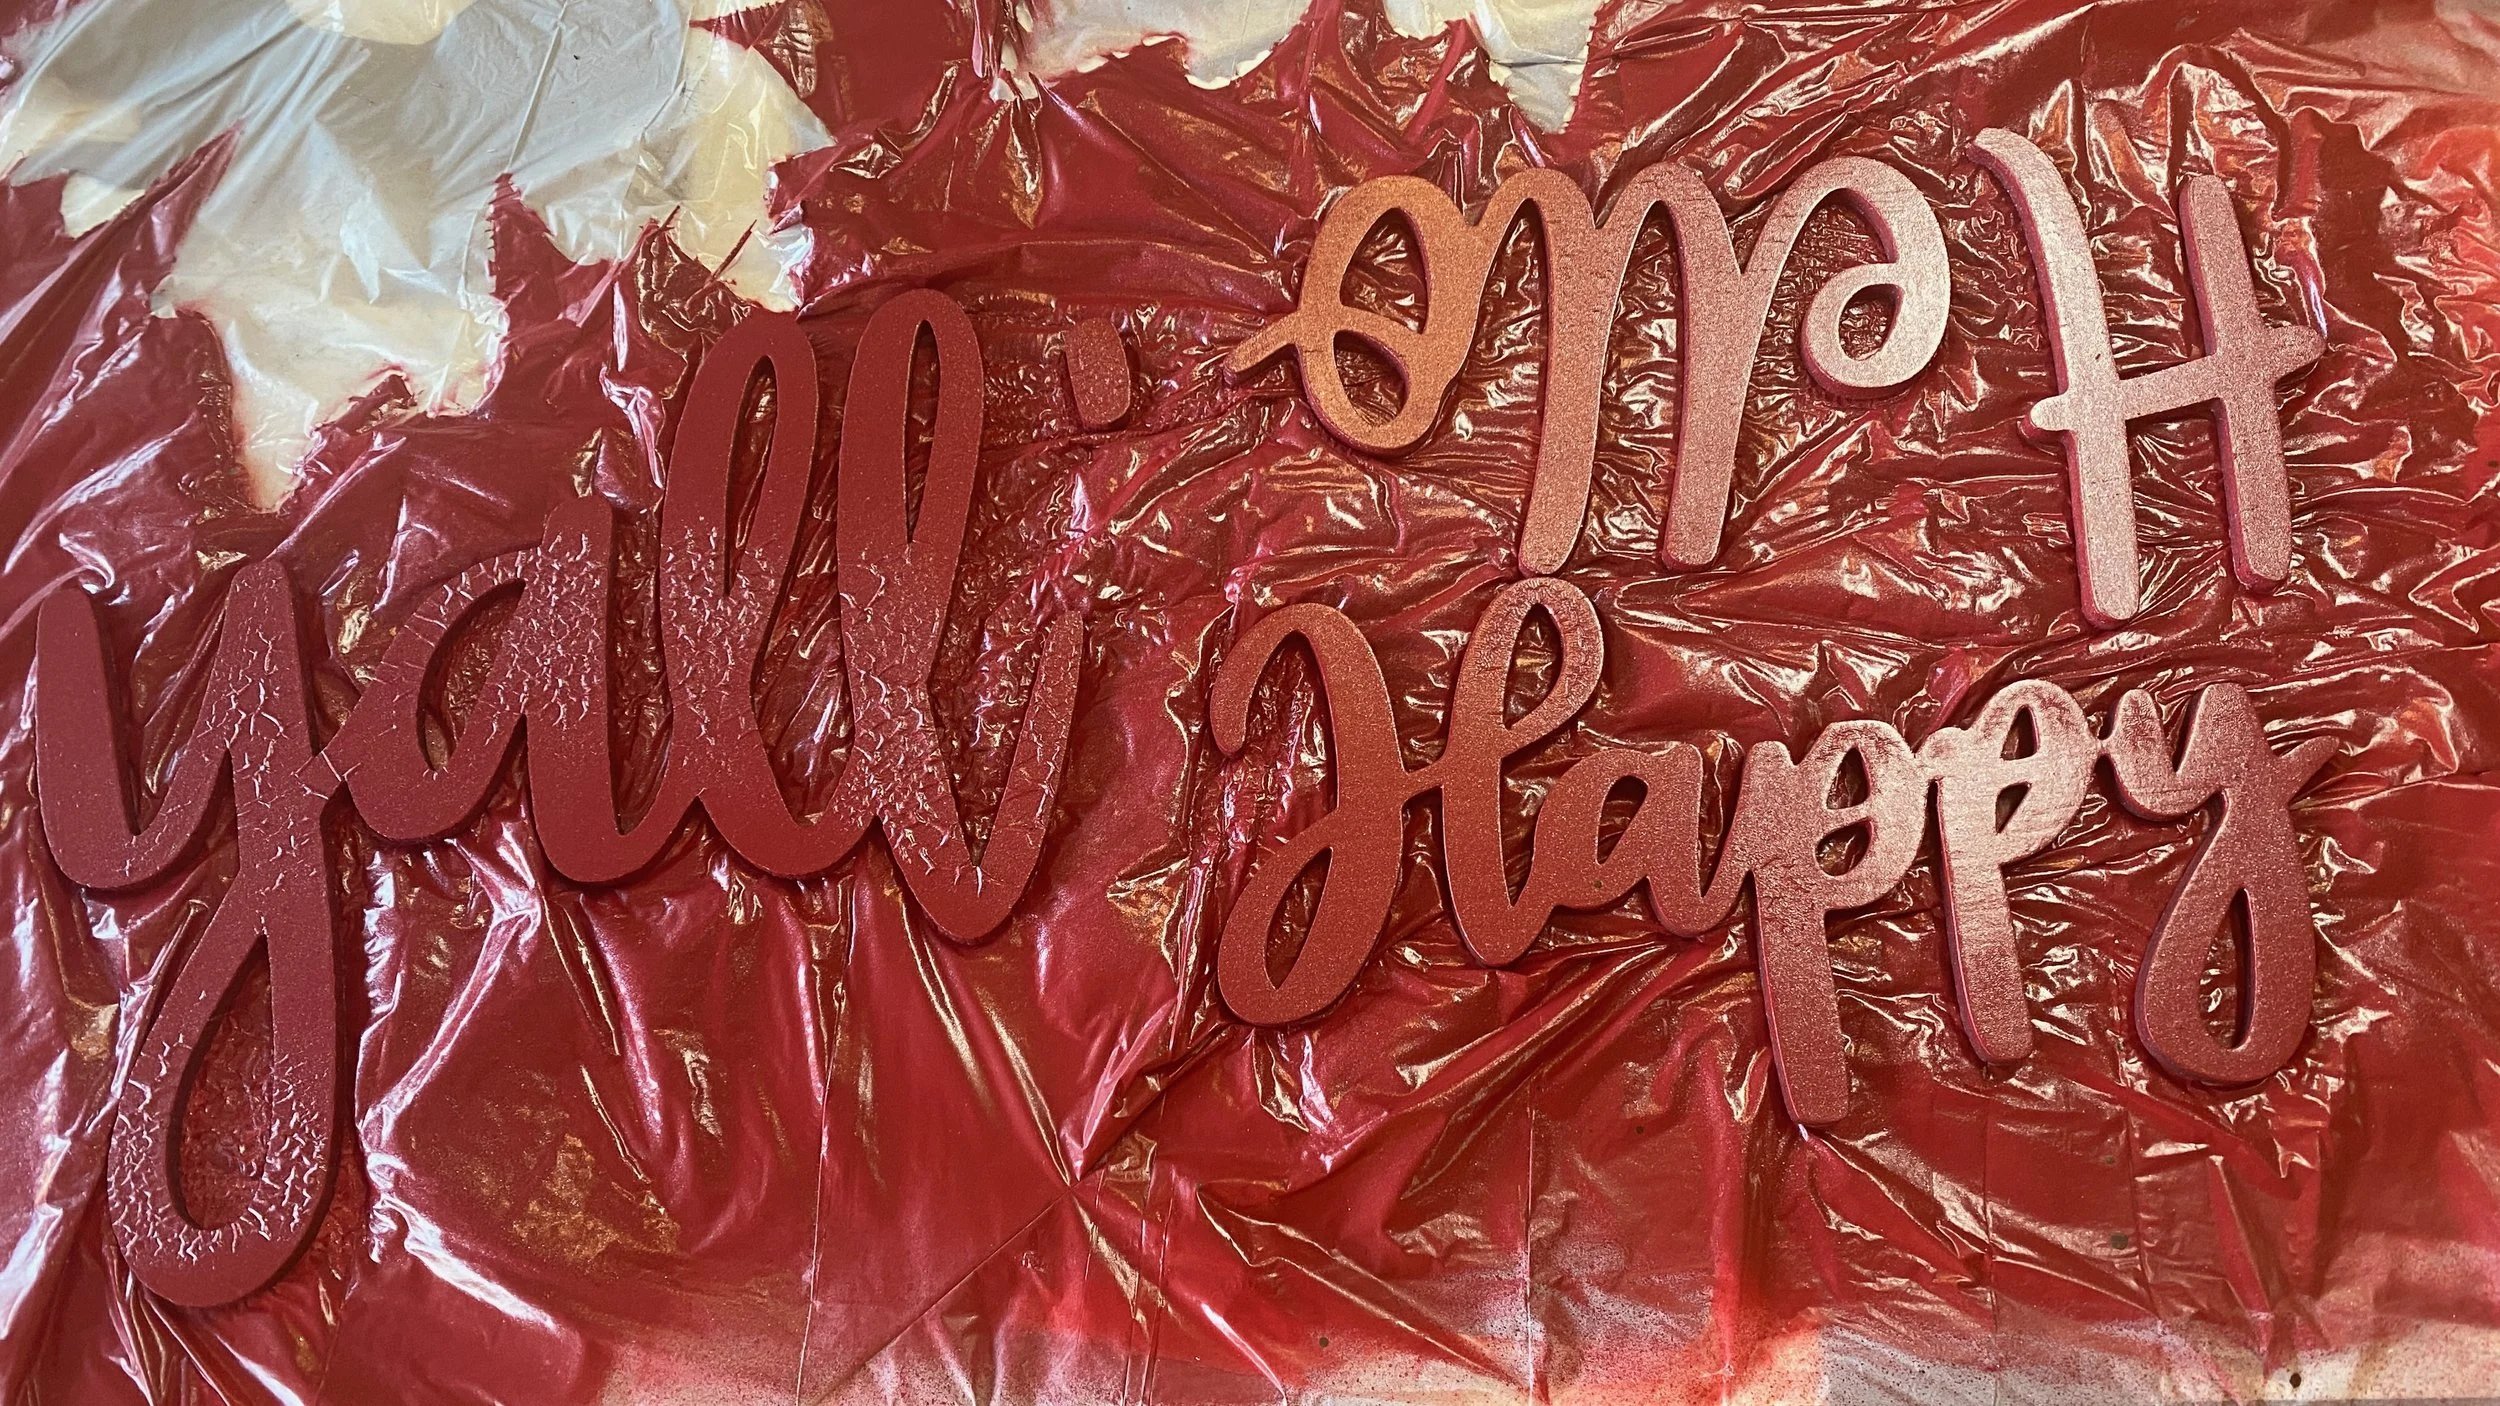
Painting Individual Pieces: I knew I needed to find a better process where I could more easily do touch-ups. I decided to paint each of the individual pieces. I used exterior latex paint samples I get from Home Depot or Menards (Lowes does not have exterior samples) then clear coat them with exterior spar urethane with a glitter additive.
The pro - easy for touch ups and I liked the look and quality. This feels like a win for the materials.
The con - the amount of time it takes to paint & poly and the amount of space needed to lay all of the pieces out to dry. There is also the decision - more time and paint the side or less time, but then trying to keep the paint off the side.
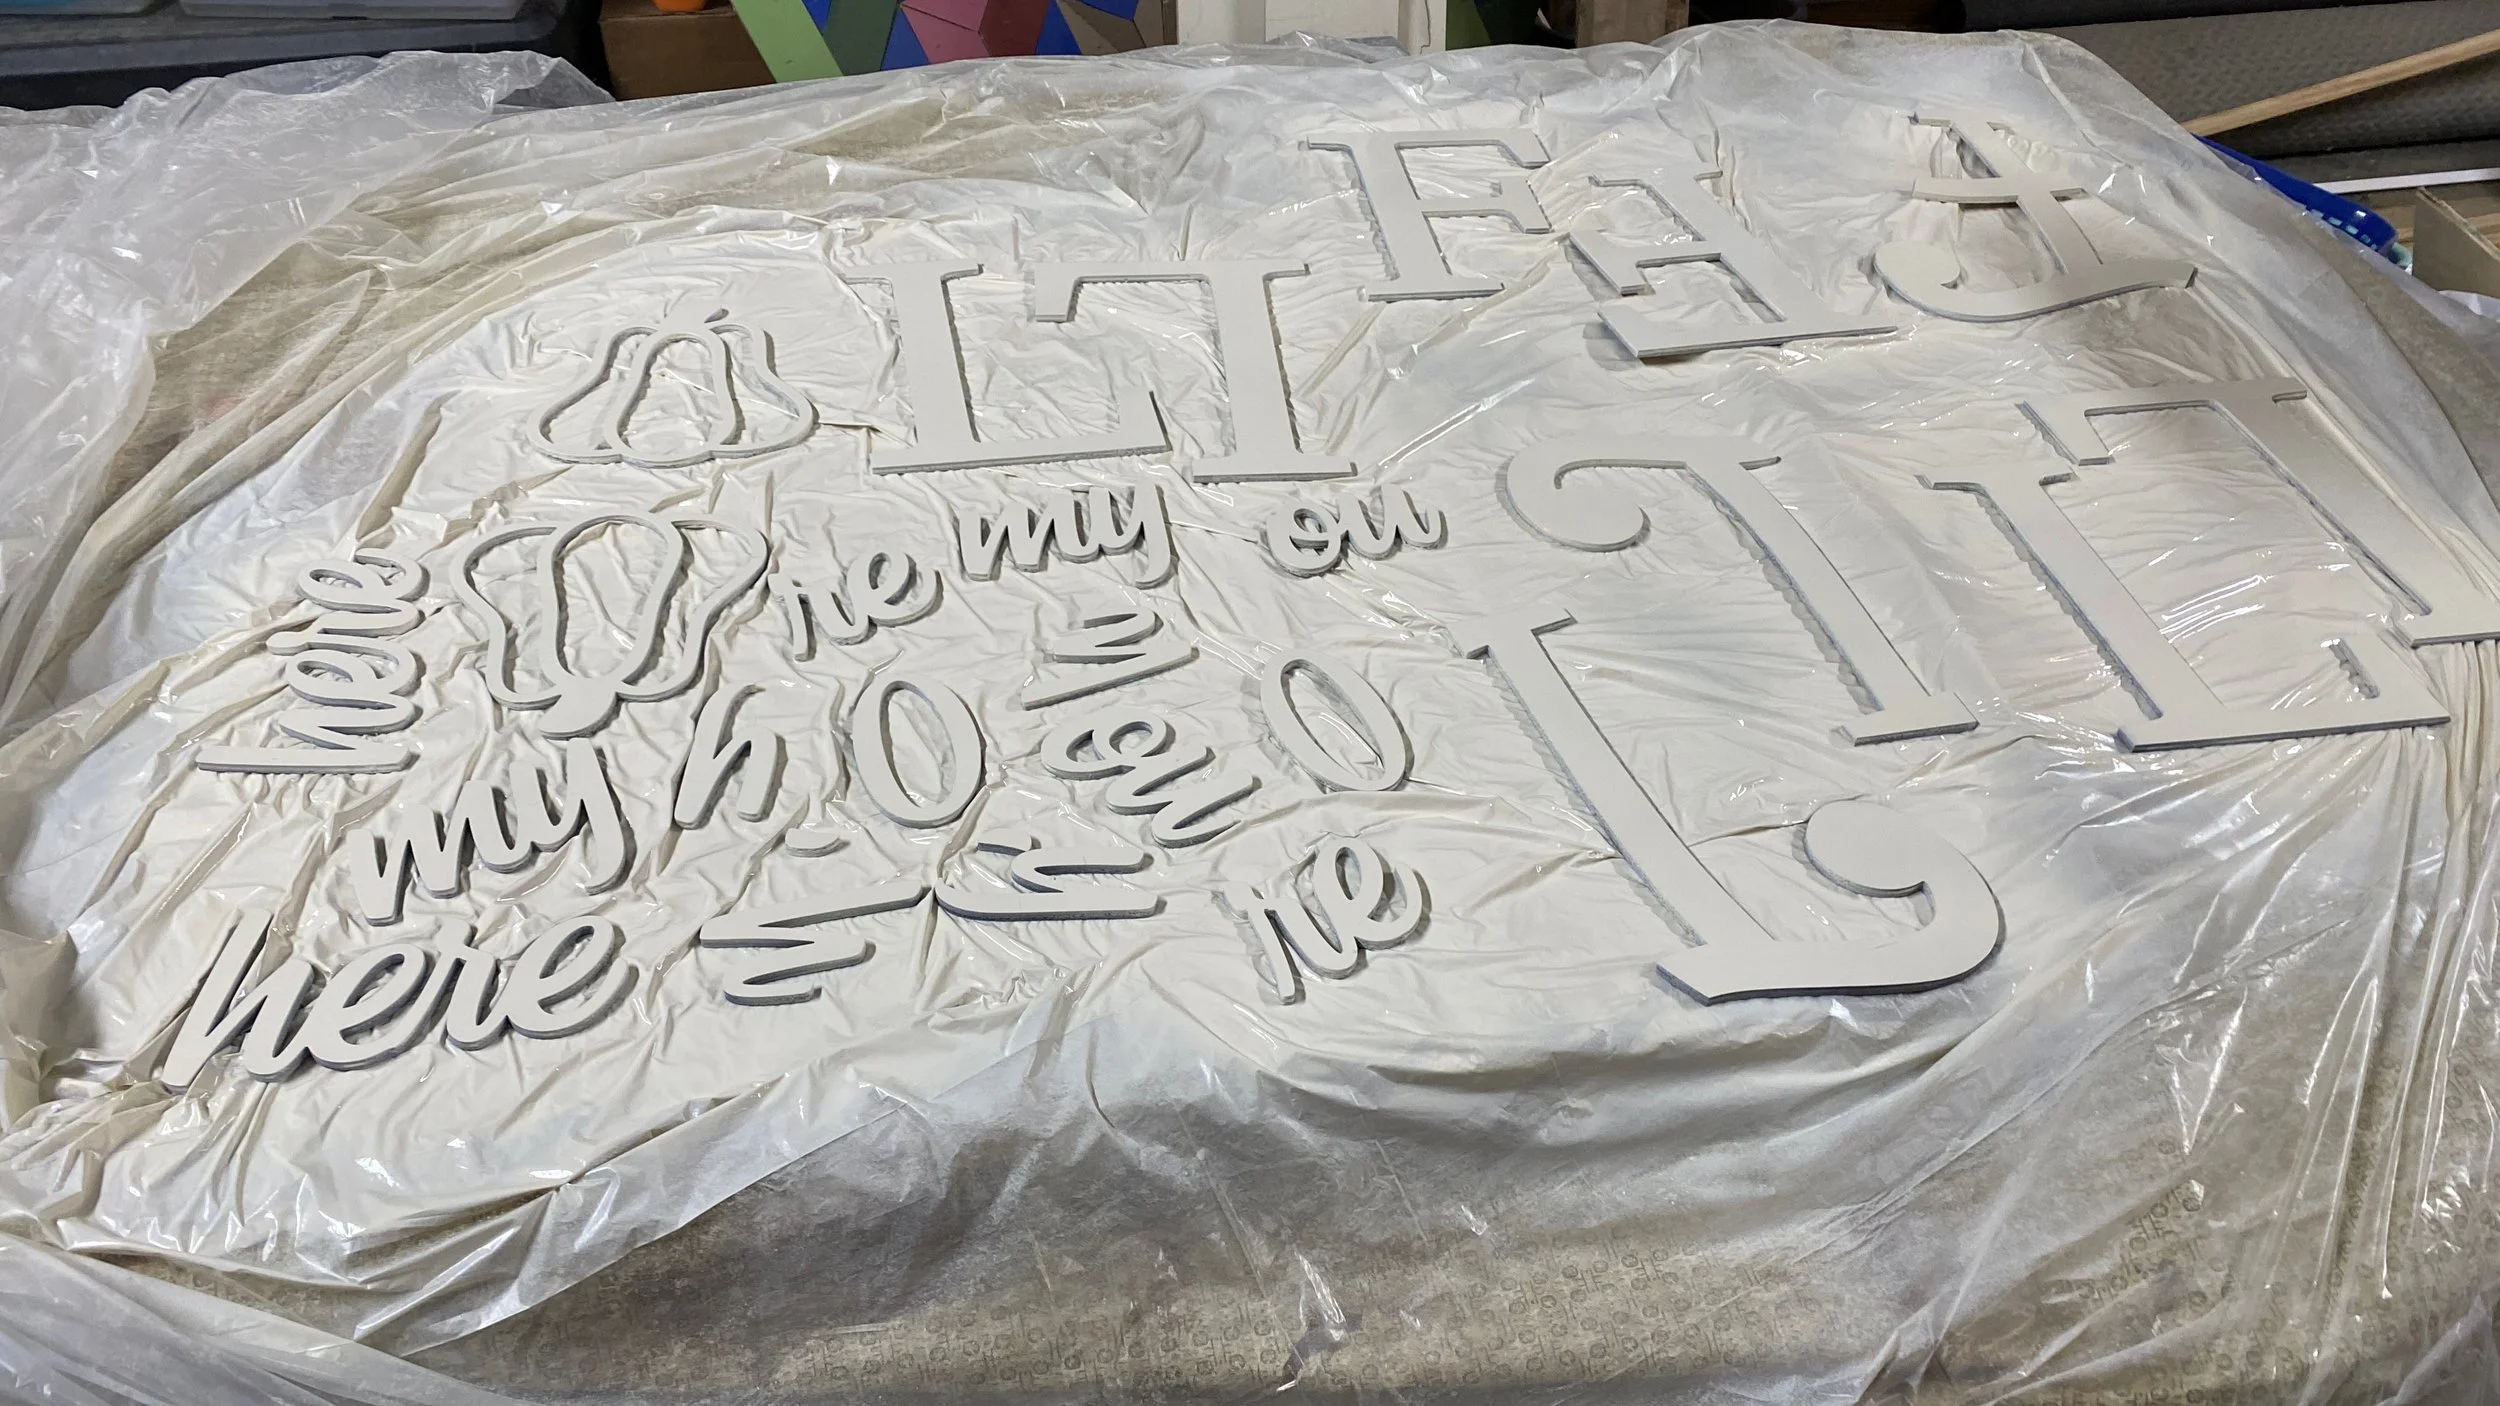
Improvement: Paint then Cut
I am still using the exterior paint samples and glitter poly - the process change is now paint the boards first then cut.
I arrange the pieces by color on each layer for cutting, so I do know how many pieces of each color that I need.
I paint, lightly sand, and poly the larger pieces and use my craft table to dry. This is where the big time savings comes into place, it is much quicker then painting smaller pieces
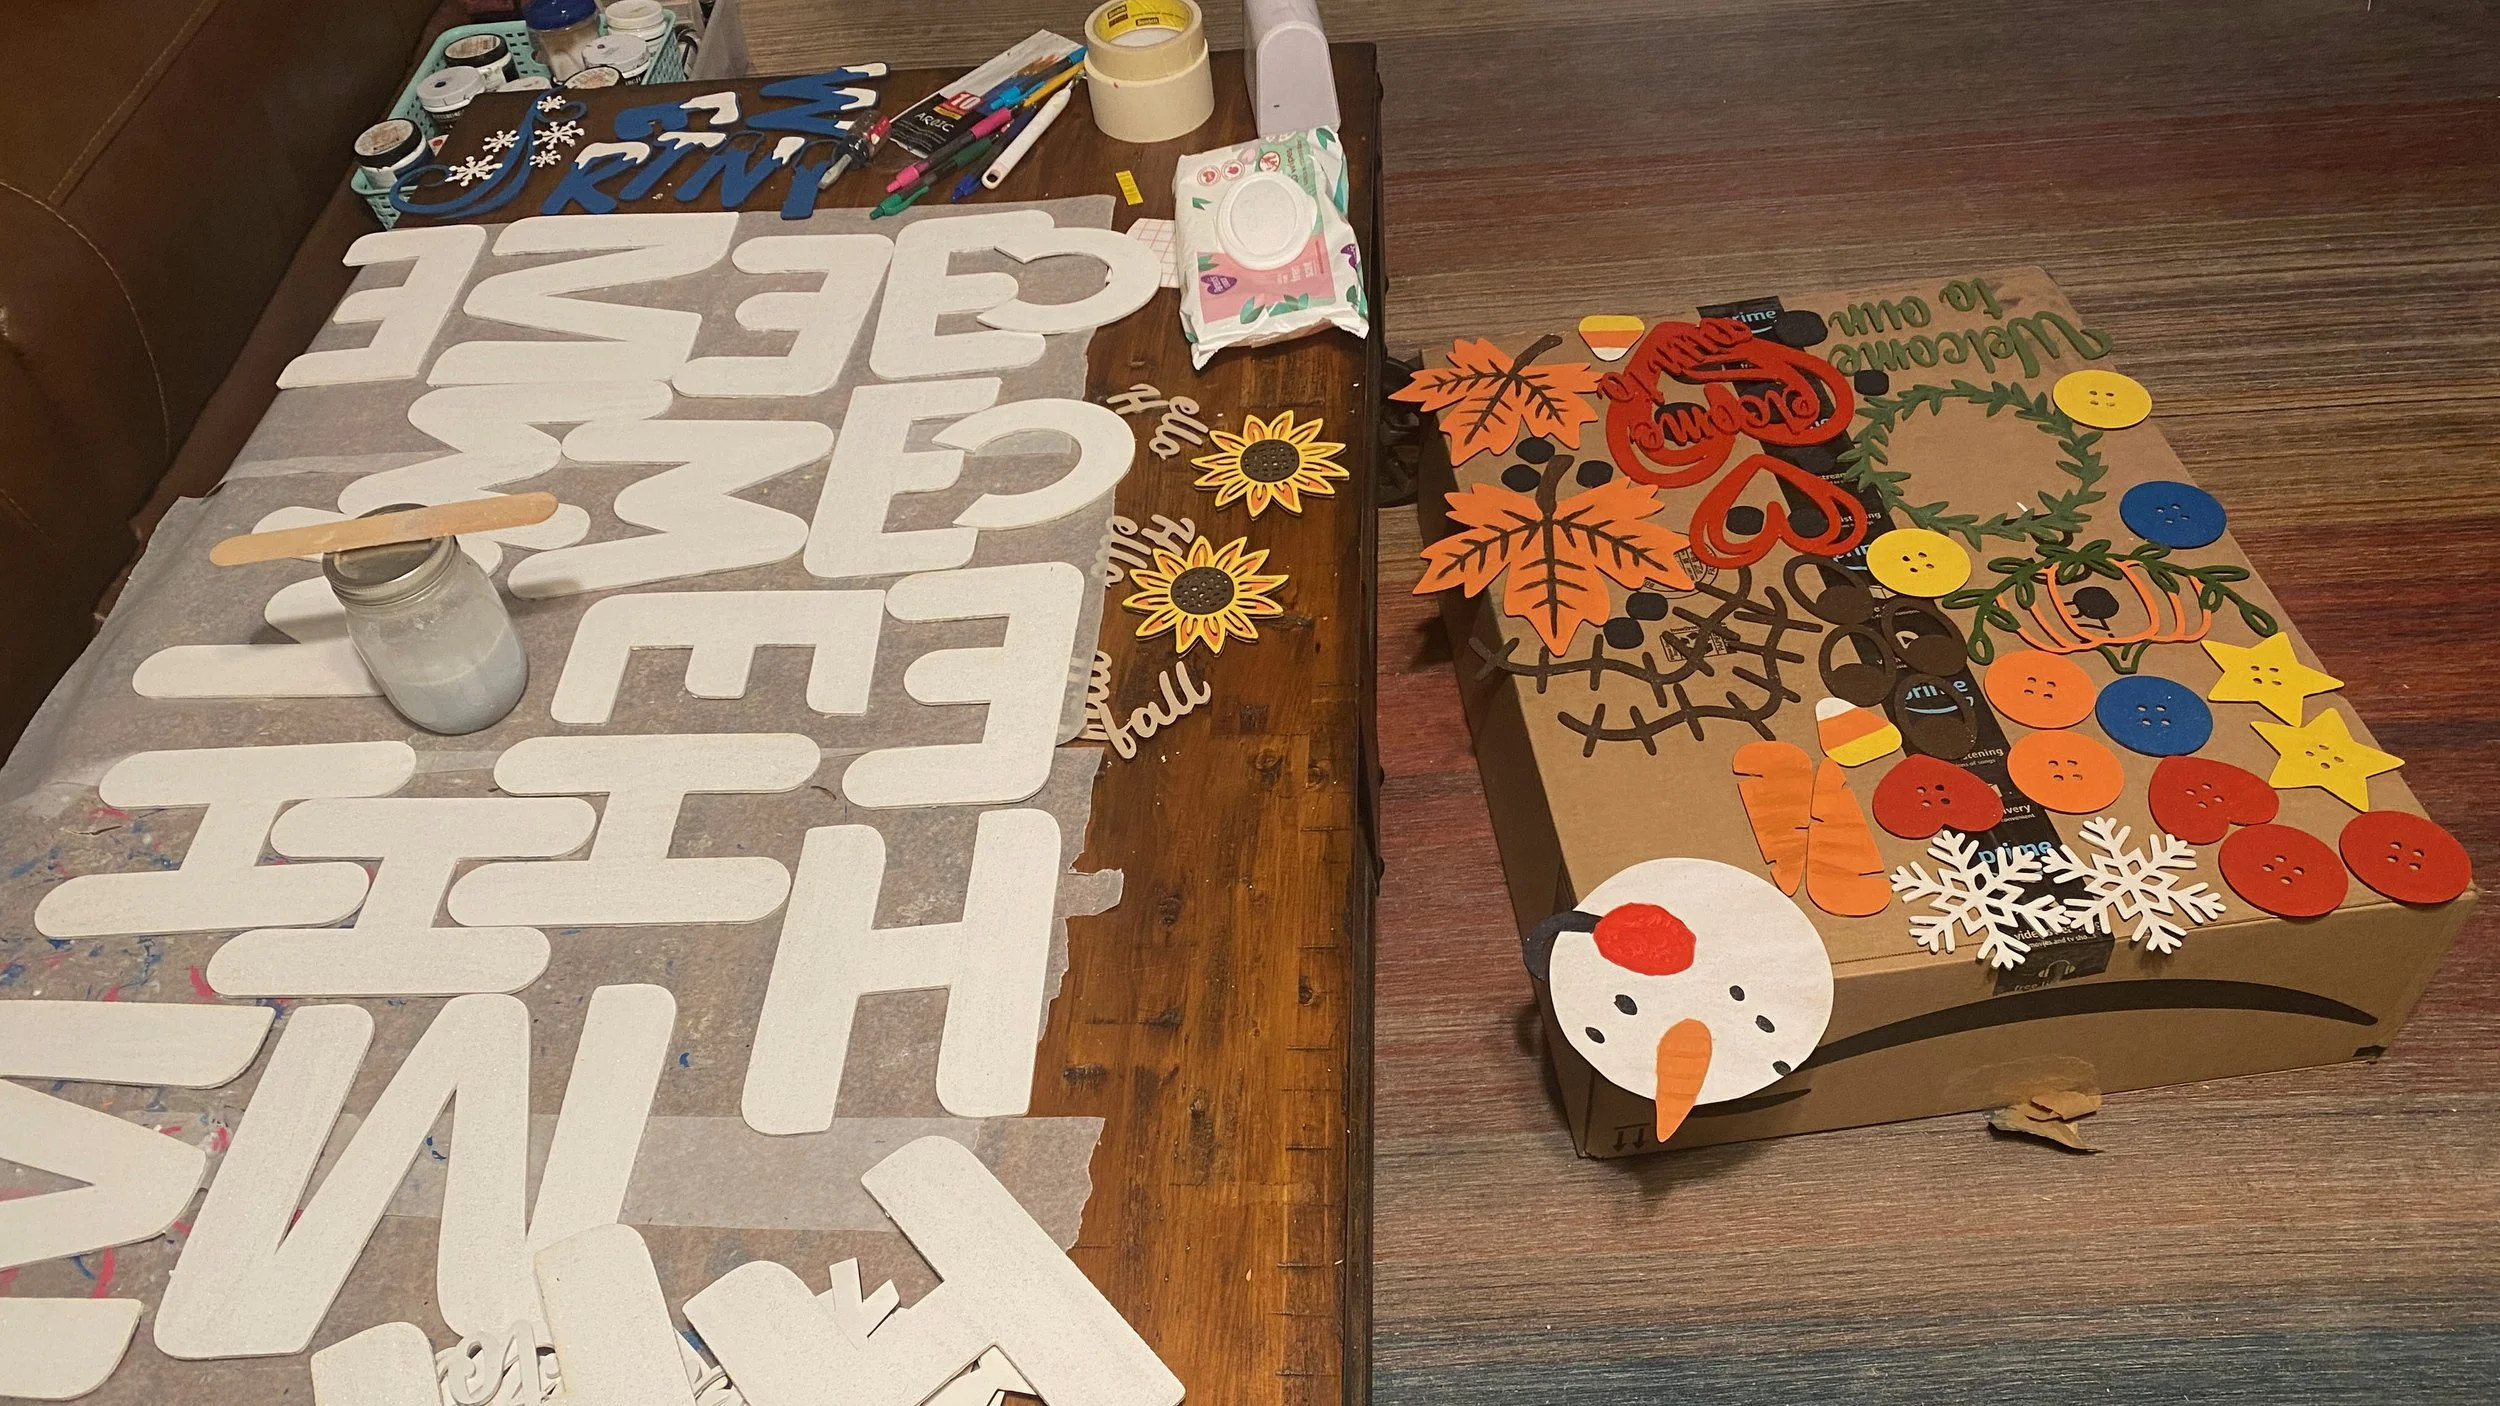
Once dry - I cut the pieces by color. Since they are painted this is where I keep the sides clean and my quality improvement.


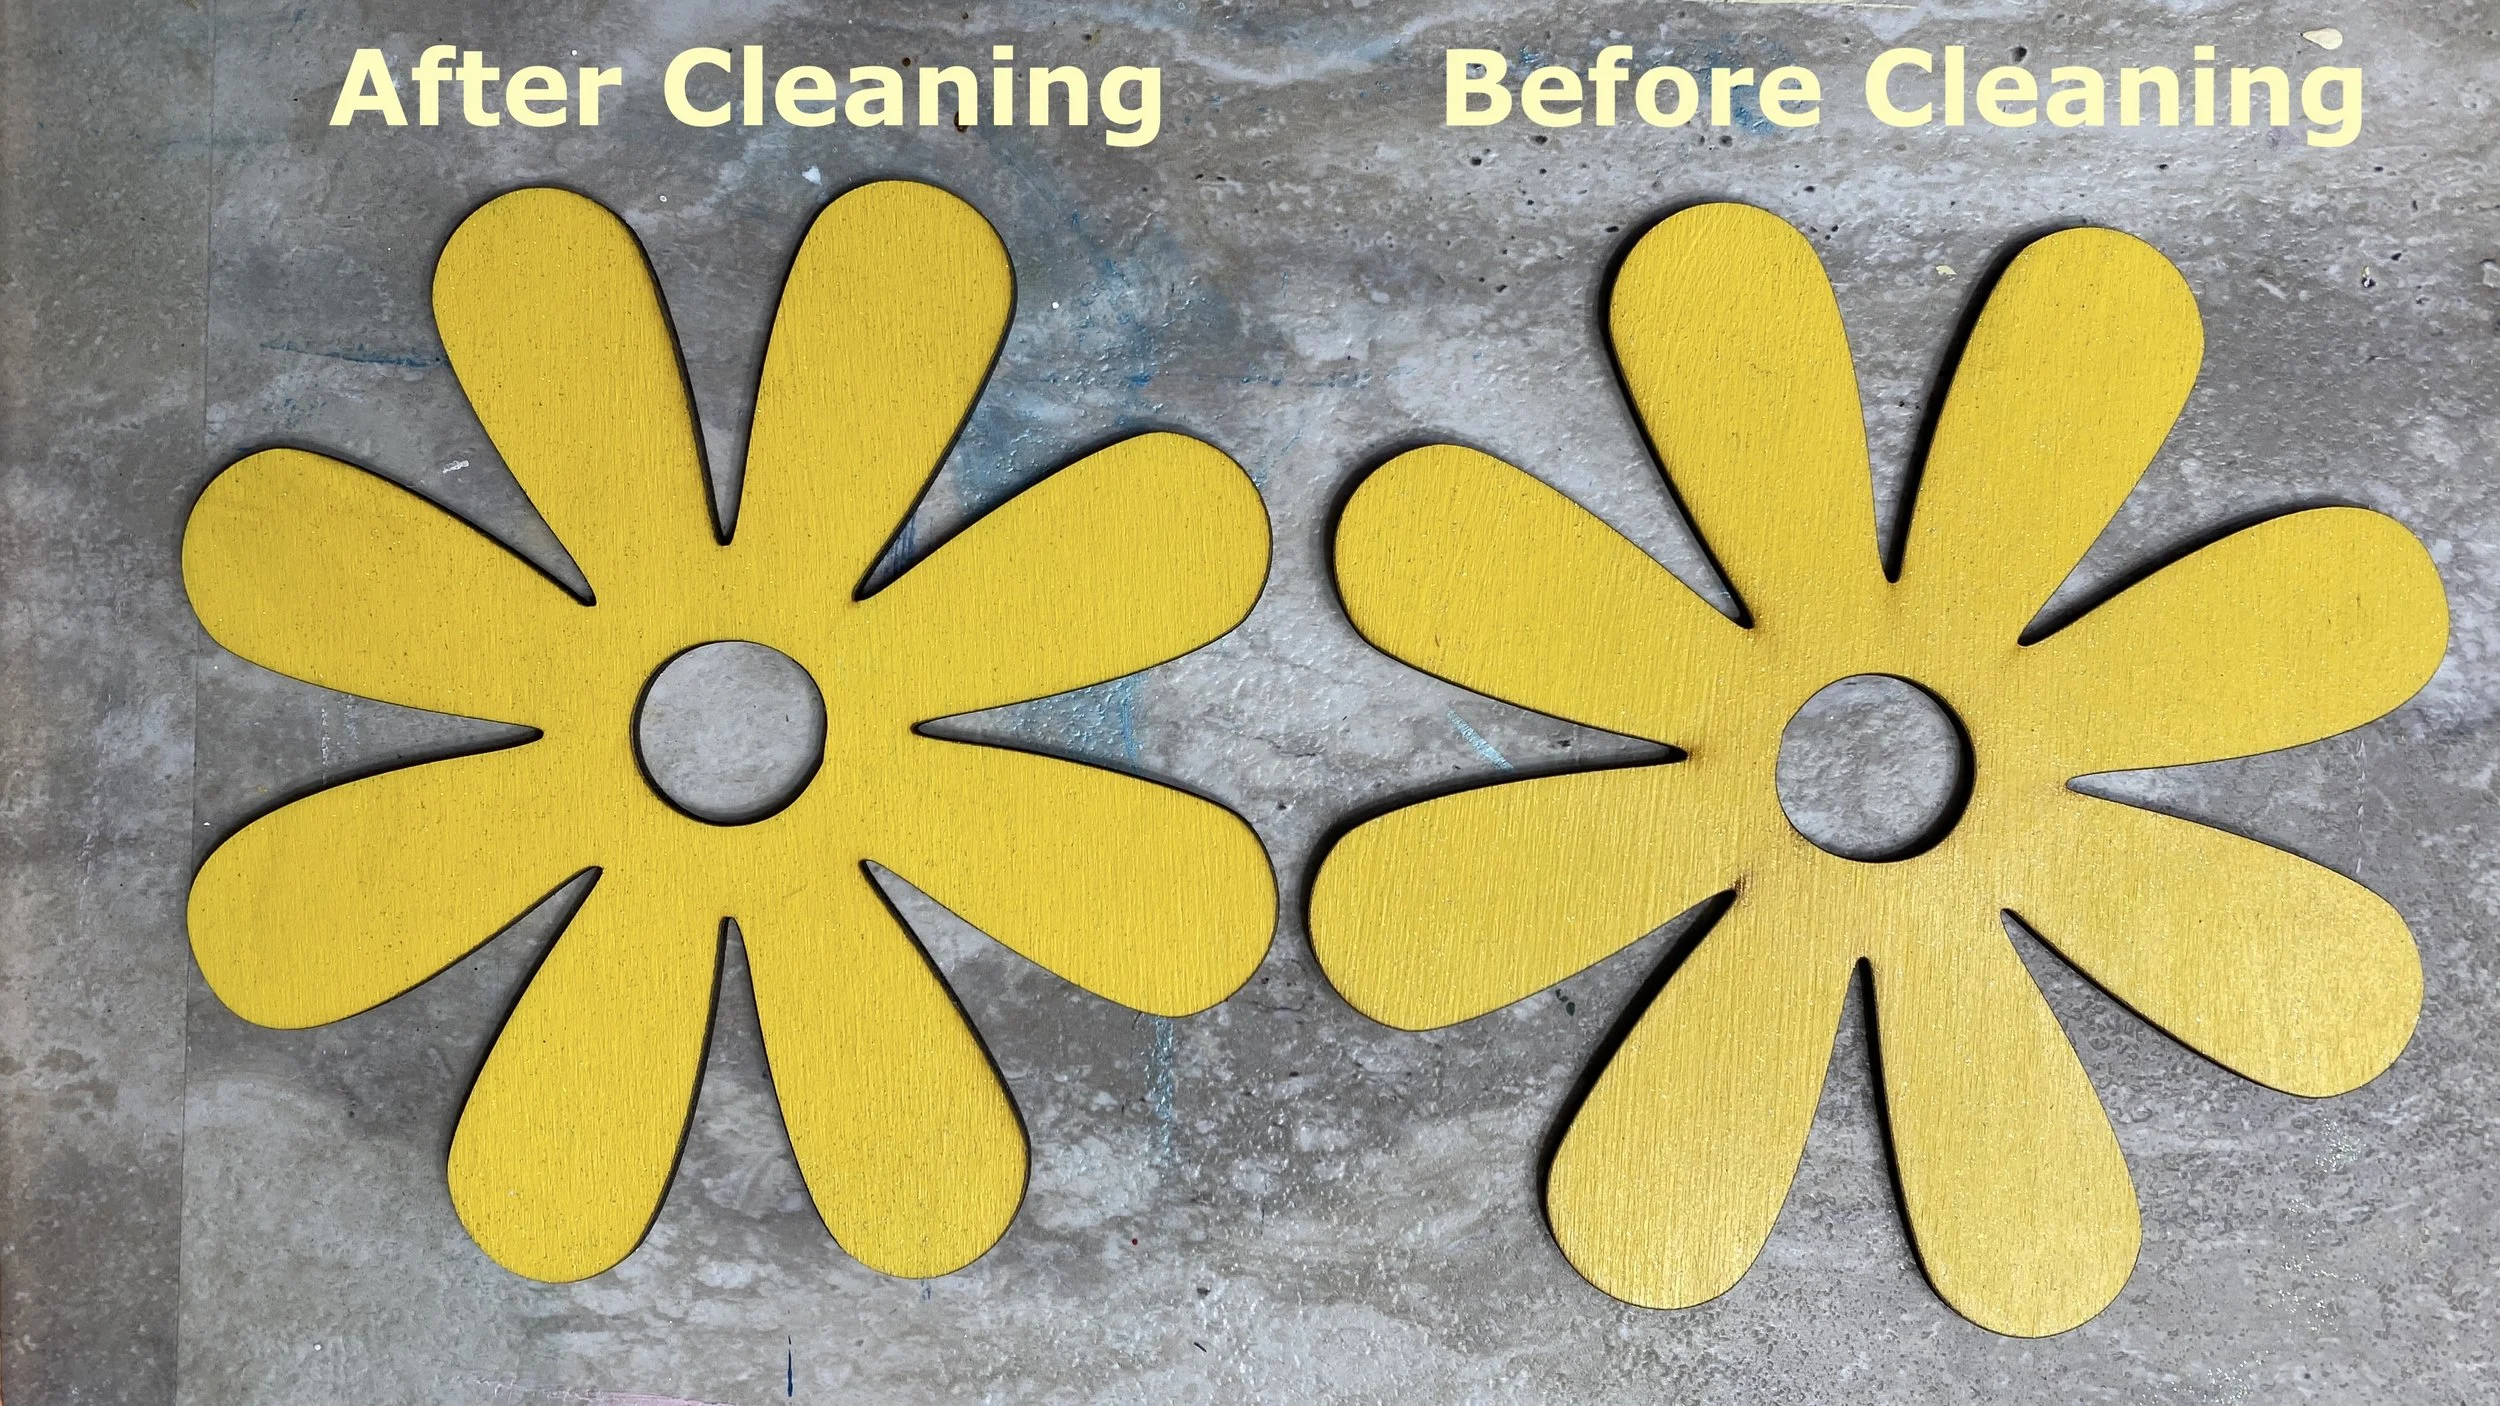
Once done cutting I do lightly clean each piece using a vinegar and water mix to remove any soot. My pieces are sealed which helps with the cleaning, so I am not sure how well this would work if using a matte paint that isn’t protected.
Hopefully you can use this quick tip to improve your painting process or look at your own process and think - What can I do better?