My First Attempt: Acrylic Paint Pouring
There are a lot of artistic projects out there that have caught my interest but I haven’t tried yet. Being in quite a few different Facebook groups I have noticed a re-occurring trend:
People not trying something due to being intimidated – which I would account to a fear of failure
Trying something for the first time then giving up if they have any issues or it wasn’t perfect – Which I am accounting to a fear of inadequacy.
I do understand this – it is hard to step outside your comfort zone and try something new. Social media also doesn’t not help with this – you see the perfect projects then when you try it the first time the result are not what your vision was.
I am going to step outside my comfort zone and try new things and document it for everyone - the good, the bad and the ugly. I am taking pictures and recording videos as I go to document what I actually experience as I tried this project. In the end we will see if it was a FAIL (First Attempt In Learning) or can I say “Nailed it”! Let’s just hope I don’t end up on an episode of Americas Funniest Home Videos … as I have just dated myself.
The first project I am going to take on is acrylic paint pouring. I purchased the supplies that I need a while ago but haven’t tried it yet, so here goes nothing!
Supplies & Materials
After some google searches I figured out what all I think I needed and gathered up the materials.

Base Material: You can use canvas, wood, tile or whatever your heart desires. I picked basic canvas that was flat on a board from Dollar Tree. (Lesson Learned: Get the stretched canvas, the moisture warped the cardboard)
Pouring Medium: I had a couple options - for this example I used Flood Floetrol which worked fine.
Paint: I have a lot of paint in different viscosities. I tired a couple different versions - I think this is personal preference.
Pouring Container: I used a plastic disposable masuring cup and paper bathroom cups. You can use other containers and squeeze bottles - I started simple since I didn’t know what I preferred yet.
Other Tools: I tired using a heat gun them different paint spatulas to experiment. There are a lot of things you can use in this category - but I again tried to stay simple.
Protecting the Surface: I used the lid to a storage container and parchment paper. I am sure there is something better, but it’s what I had.

This was a FAIL - or “First Attempt In Learning”. I would not use a flat canvas that is on cardboard, I would instead use a stretched canvas or canvas on a more durable material.
Mixing the Paint
How do I make pouring medium?
First up, I need to determine what pouring medium I will use. My research and internet search provided a lot of different options and recipes to make your own pouring medium and different additives you can use. I am an engineer and even I got a bit overwhelmed. I think I see a science experiment coming in my future – but for now I will use two different recipes with common items you can easily find. I ended up sticking with Recipe #2 to keep life simple.
Recipe #1:
1 Part Elmer’s Glue All (Amazon - $17.98/Gallon)
1 Part Water
Recipe #2:
2 Part Flood Floetrol (Lowes - $14.98/Gallon)
1 Part Water
What is the paint to pouring medium ration?
Below is what I found in my research - I will be honest I have no clue what I ended up actually using for each version. I feel this again is something you just have to experiment with and get a feeling what you want to work with based on the project and technique. I used it more as a guideline. I ended up with too thick, too thin and a bit in between. This is something that the more you do it the better you get at coming up with just the right mix.
For a craft paint or thinner paint – the ratio is 2 part paint / 1 part pouring medium
For a medium bodied paint – the ration is 1 part paint / 3 part pouring medium
First Attempt: I didn’t have my ratio correct and it was too thick so it was hard to get the paint to flow or move with the heat gun. Time for an engineer design change - and make the consistency thinner.
How much paint do I need?
I found an online calculator and did backwards math on a couple of different versions. A couple were 0.035 oz/sq. in. and then one was 0.040 oz/sq in. I will try the 0.035 ratio first, to see how it turns out. For example – the 8x10 canvas’s I am experimenting with are flat – so 80 sq. in. x 0.035 = 2.8 oz of paint.
I ended up using a bit more than this but had excess paint. I wanted more of the base white but then had excess of the colors. This again is just something you learn and adjust the more you do this. It did at least get me in the ball park of where I needed to be.
Attempt #2: I got the flow right - but I ran out of white and wanted to lighten up my image. So I knew for the next round I needed more white and having extra pouring medium in case I needed to adjust the mix.
How many colors should I use?
According to my research the optimal mix is:
First you need a neutral – such as white or black.
Then colors that work together – it was recommended that beginners still with 4 or less in addition to the neutral.
1 Neutral - Such as white or black
1 Metallic Paint (Optional - But I think it adds something extra)
3 Coordinating Colors (5 Total Max including the neutral/metallic is recommended for beginners)
Pouring Techniques
Next up – what kind of techniques do I want to try? I decided to do the smart thing and stick with the most basic beginner technique even my normal reaction is more of a – hold my beer.
Basic or “clean” pour
This technique is where you pour white or black on your canvas to get a fluid base and then add your colors one at a time. You can blend these colors by tilting or spinning the canvas, using a tool to manually swirl the paint, or a blow dryer or heat gun to move the paint in different directions.
I experimented with the heat gun, tilting the canvas and using tools that I dragged through the paint.
Sealing the Canvas
The most popular I found in my google search is varnish, lacquer or resin.
I have a spray varnish already that I plan on using to keep it simple – one new thing at a time.
Final Results
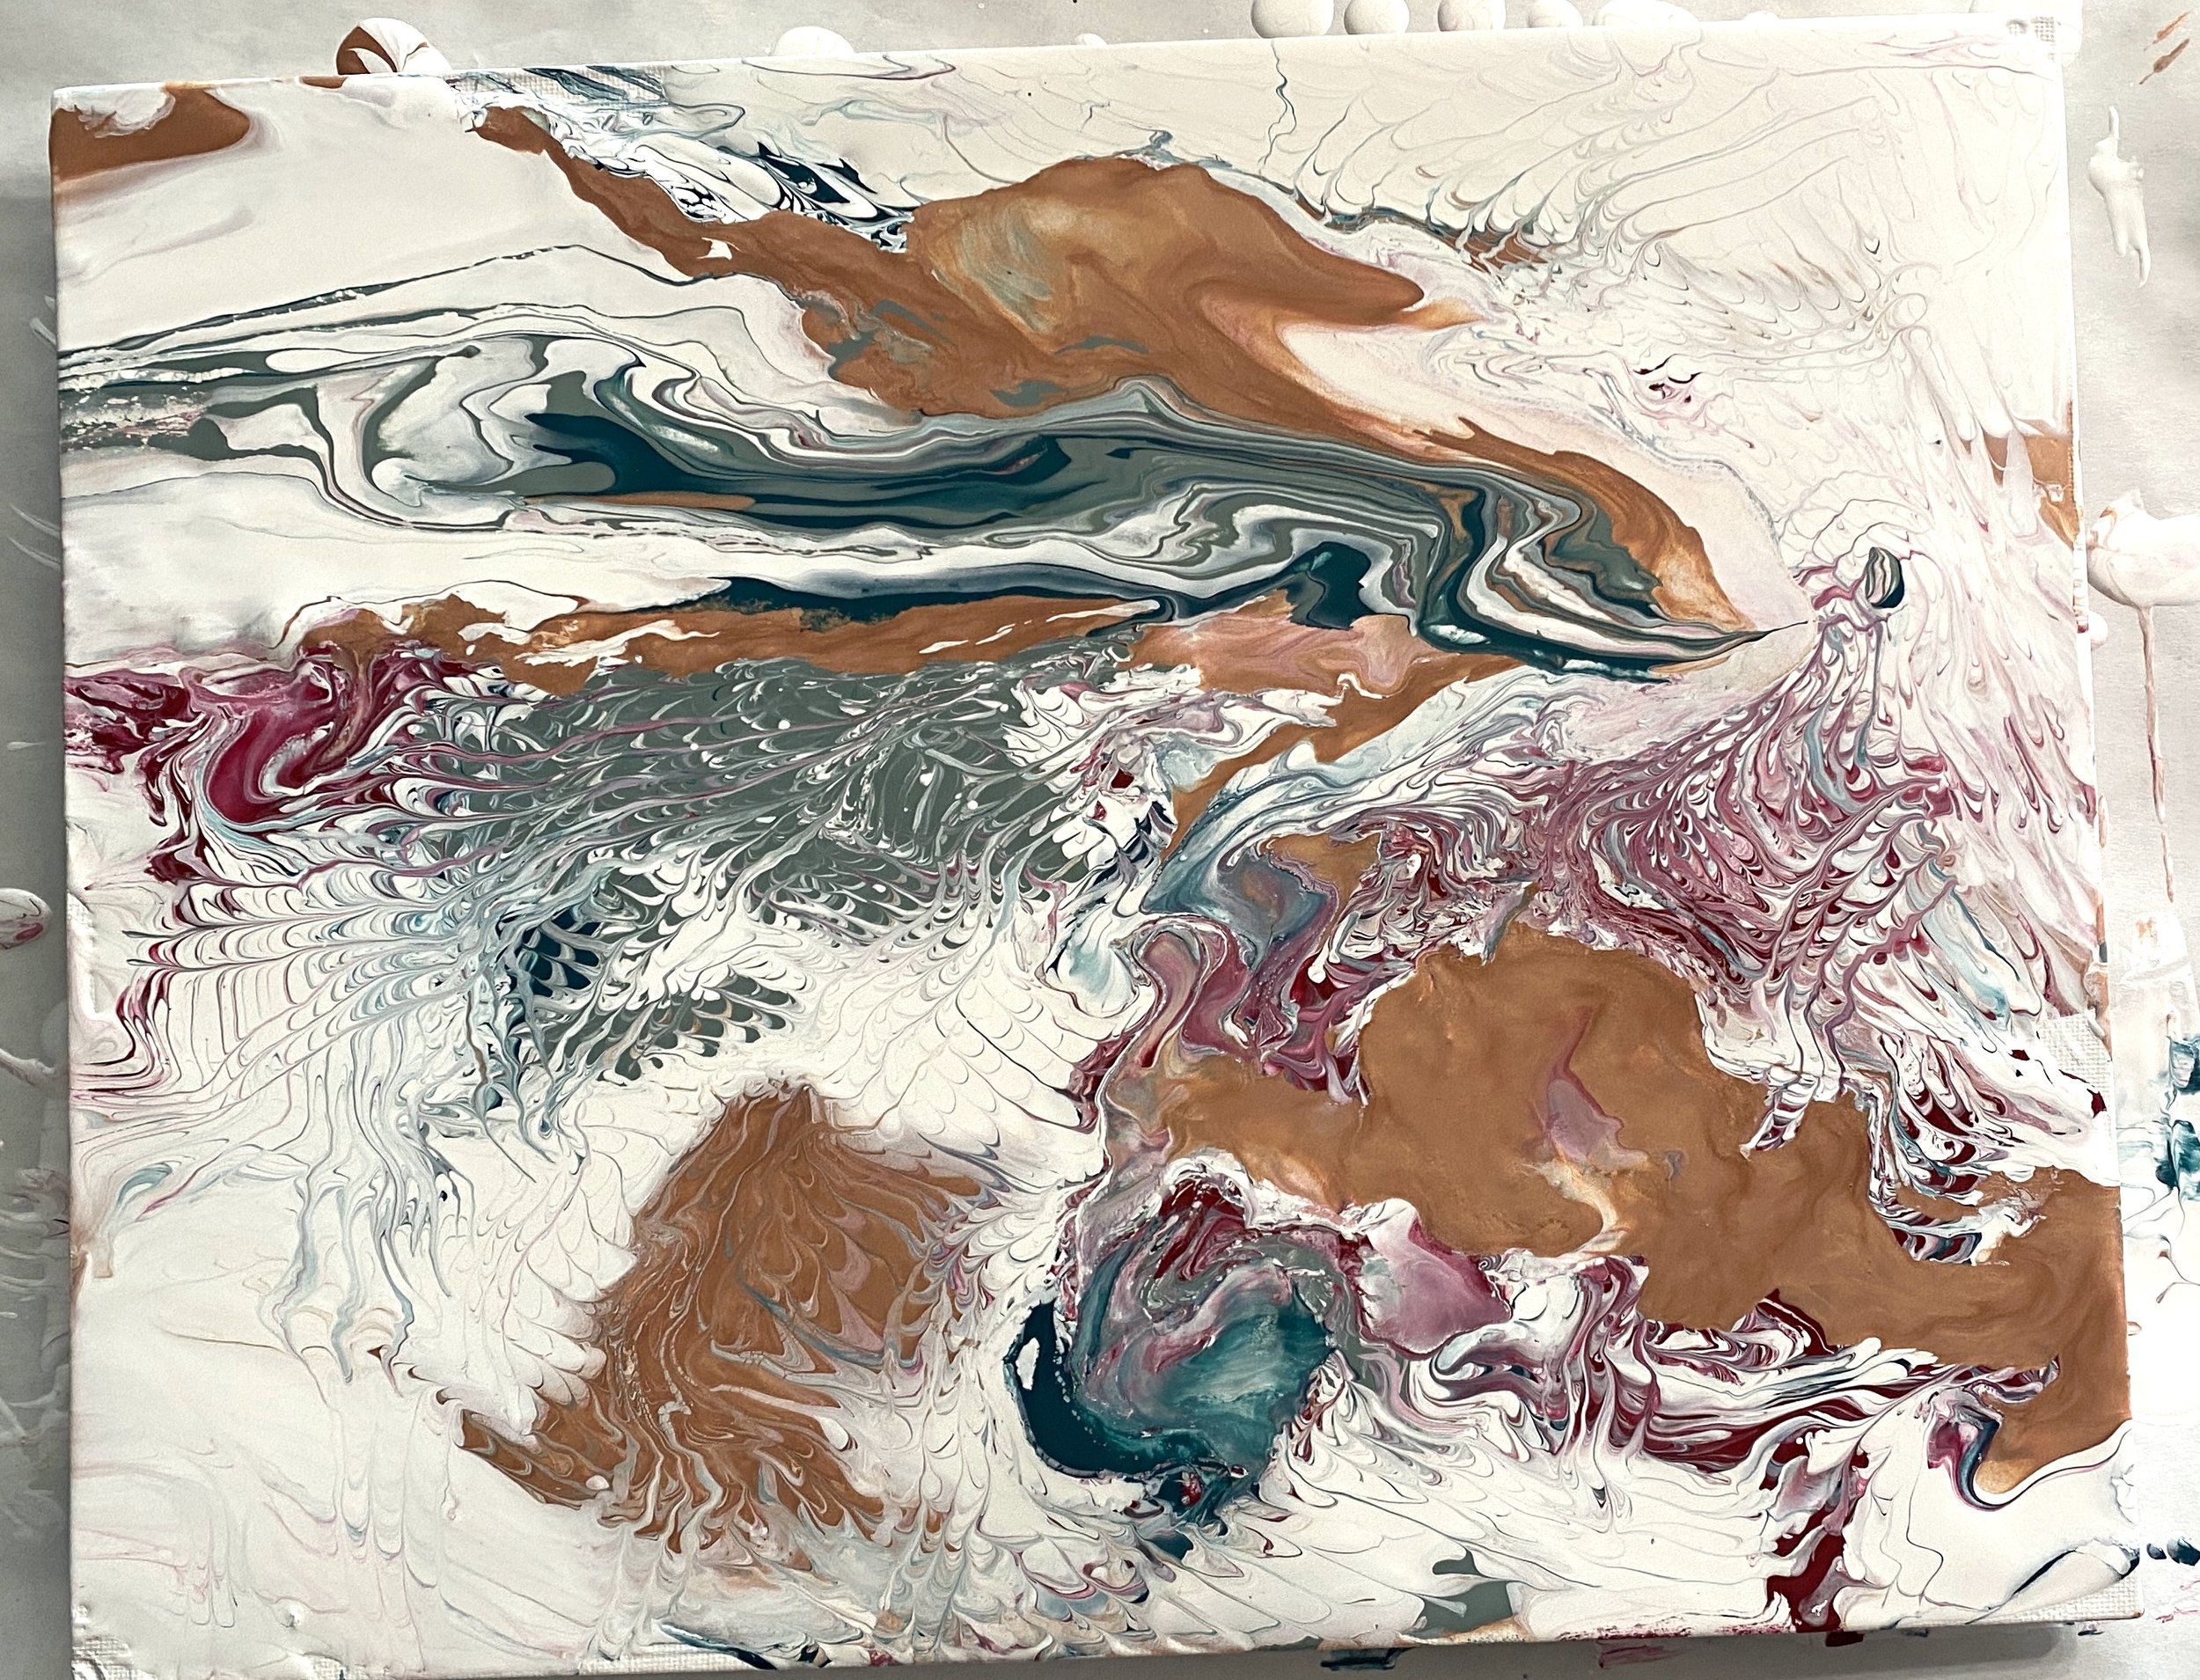
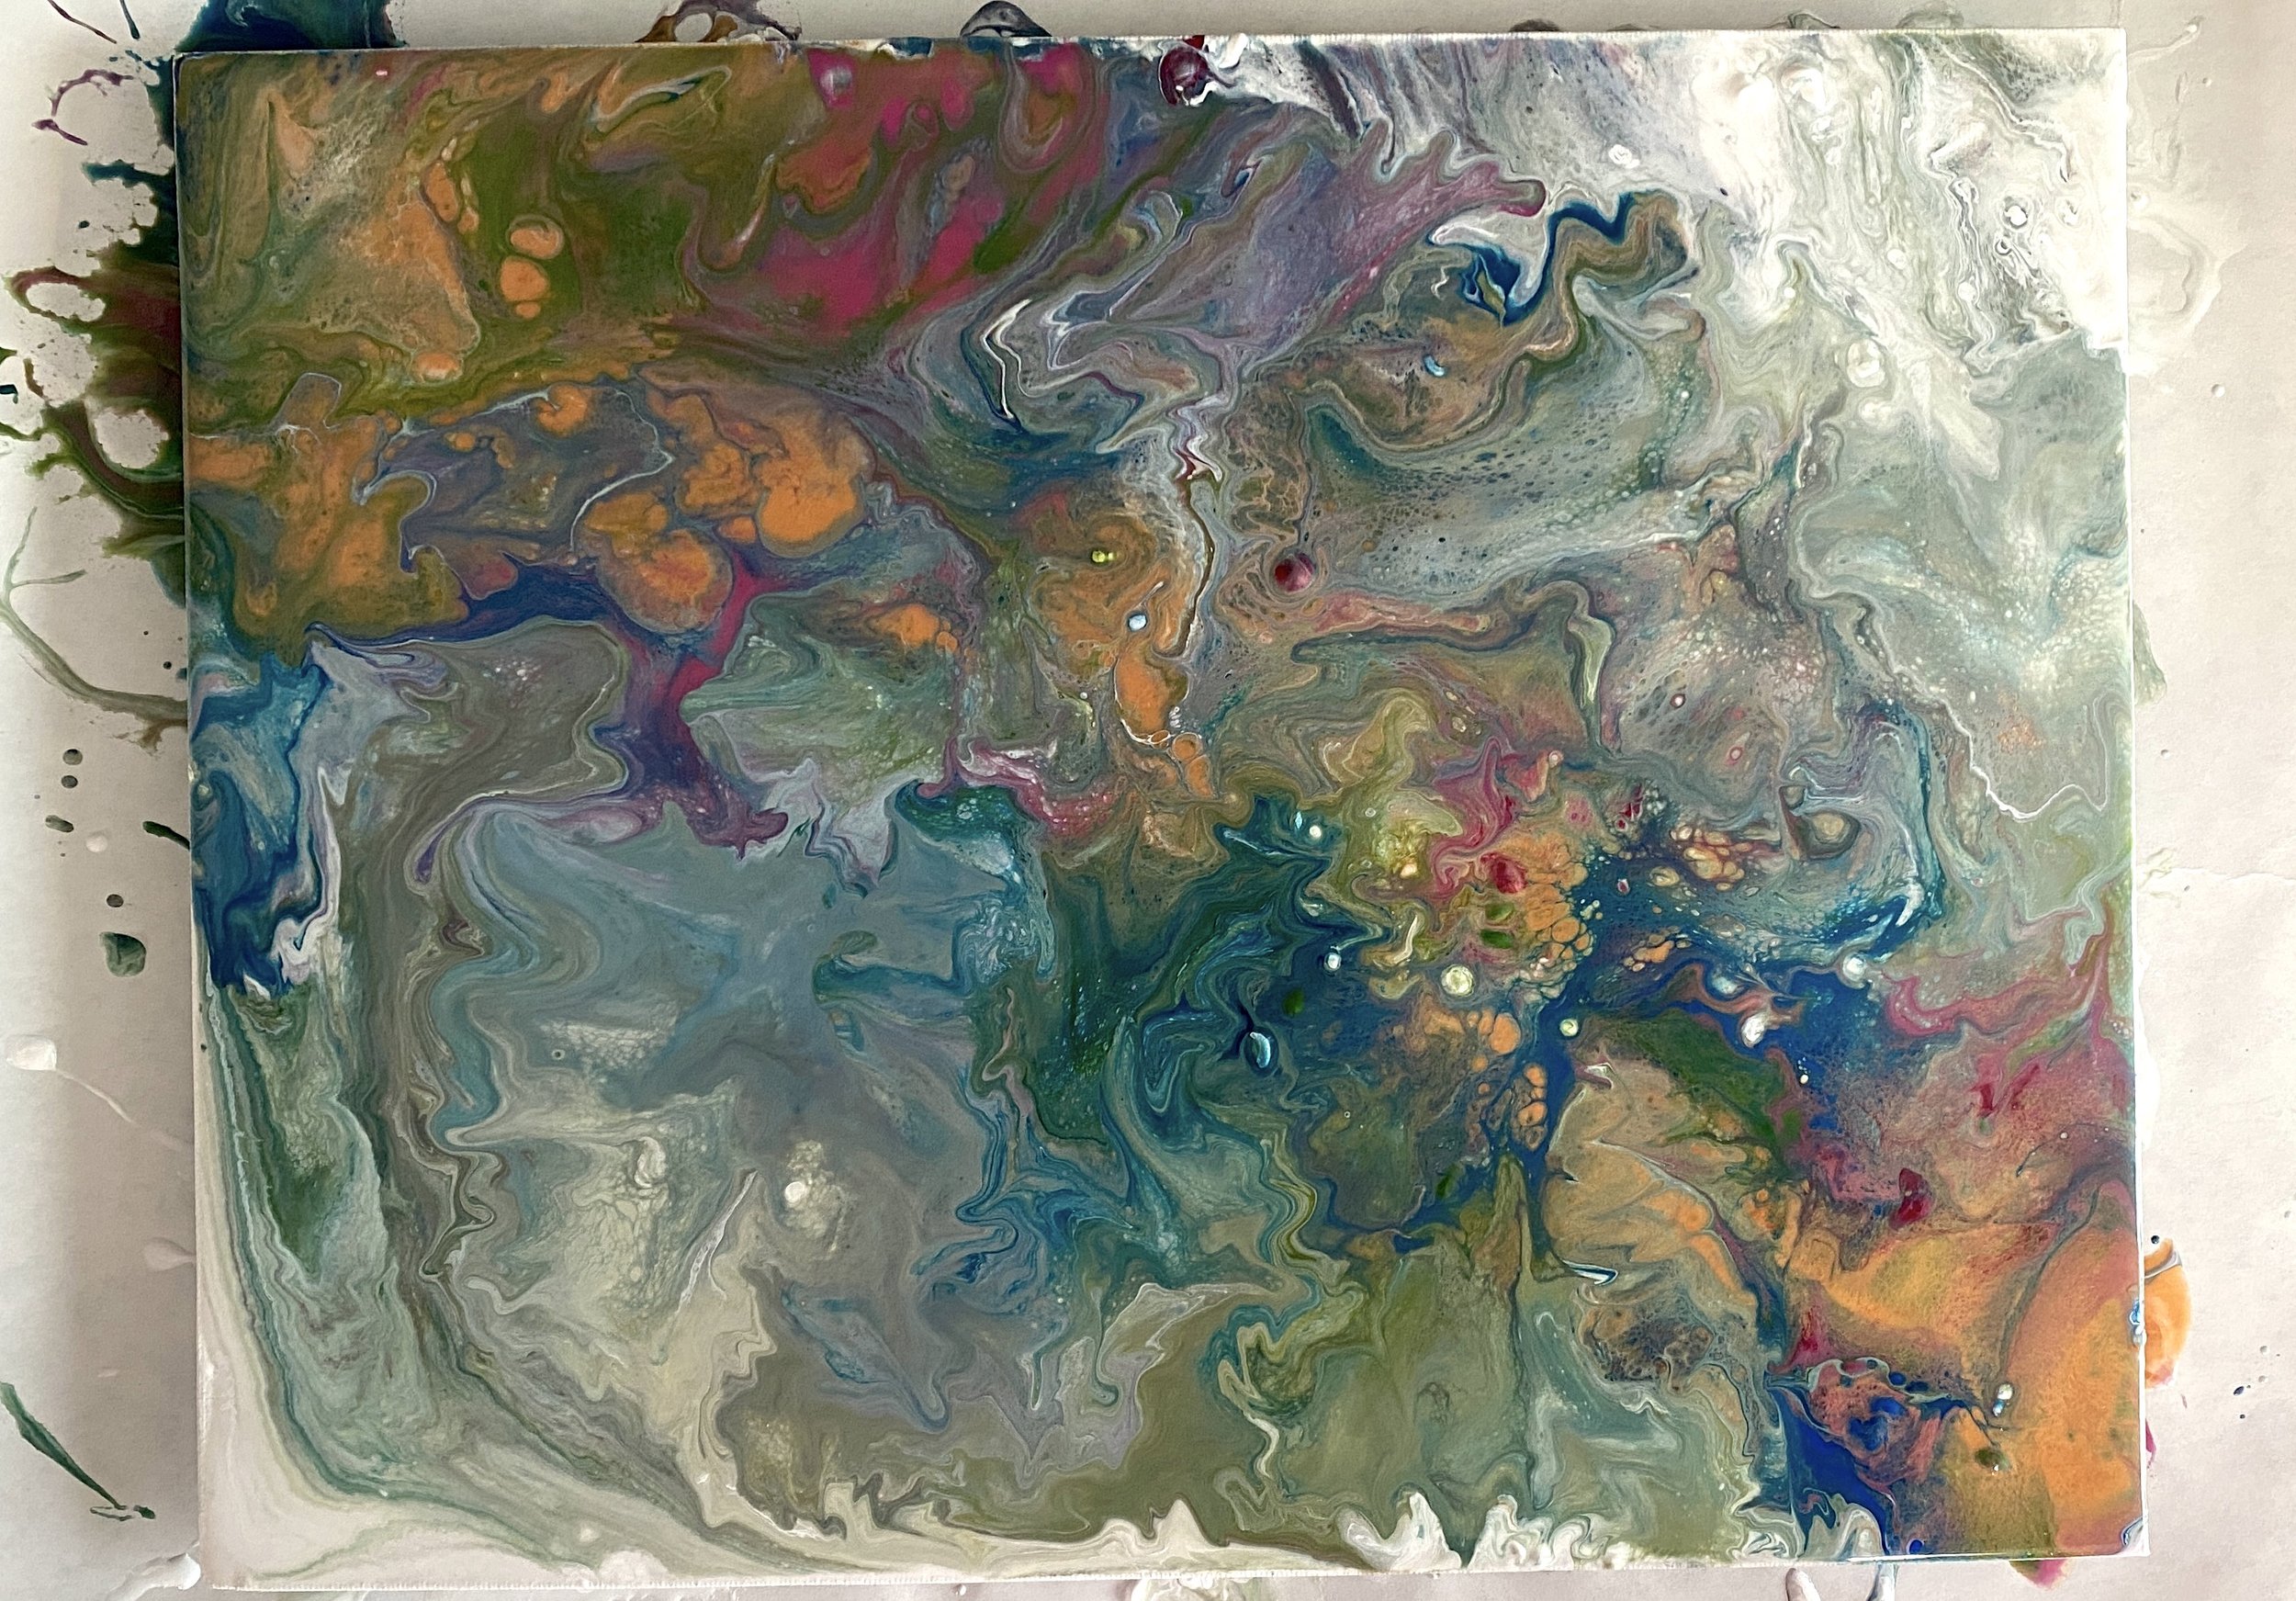
I was really excited to try this technique and there is defiantly a learning curve but it was a lot of fun and I am looking forward to doing more paint pouring!
The big thing I need to work on first is figuring out the right mix of paint and pouring medium to get the right amount of flow.
I also learned that the canvas on cardboard did work that well since I got a bit of warp due to the moisture and the long drying time.

The Third Attempt: I got the mix of paint and pouring medium the closest, and saw the warp issues starting on the first two so I was able to pivot and let it dry flat.
NAILED IT!